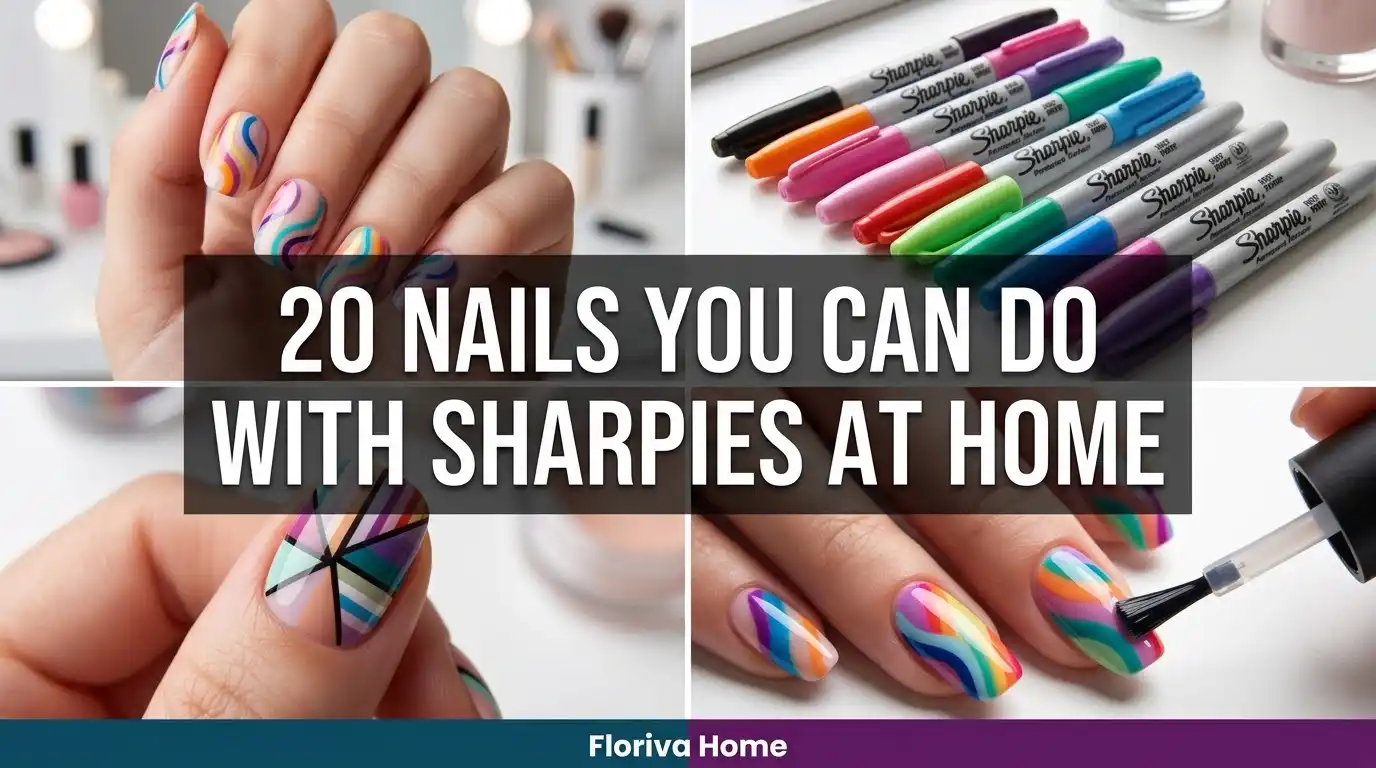
20 Nails You Can Do With Sharpies at Home
If you love cute nail art but don’t have the patience—or the steady hand—for complicated designs, Sharpie-style nail art can be a fun shortcut. With a few polish colors, fine-tip markers, and a little creativity, you can create surprisingly detailed designs at home.
These Sharpie nail ideas are perfect for beginners because many of them rely on simple lines, dots, tiny shapes, and playful patterns rather than professional-level painting skills.
Use markers specifically labeled for cosmetic or nail-art use whenever possible. If you experiment with a regular permanent marker, keep it on the fully dried polish surface, avoid your skin and cuticles, and seal the finished design with a compatible top coat.
Quick note:
Here are 20 easy Sharpie nail designs to try, from minimalist details to colorful statement manicures.
1. Tiny Heart Sharpie Nails
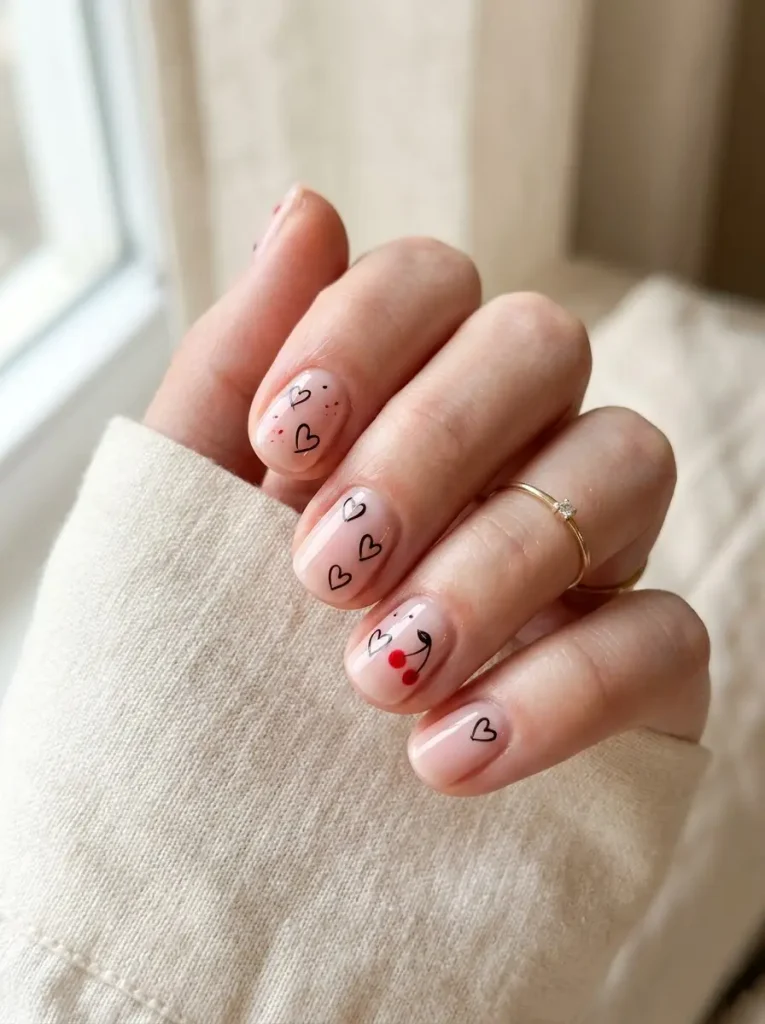
Tiny hearts are one of the easiest designs to draw with a fine-tip marker. Start with a sheer pink, cream, or nude base and add miniature hearts near the tips, along the sides, or randomly across each nail.
For a softer manicure, use a different pastel shade for each heart. For something more classic, black or red hearts over a milky base create a clean contrast.
2. Colorful Wavy Line Nails
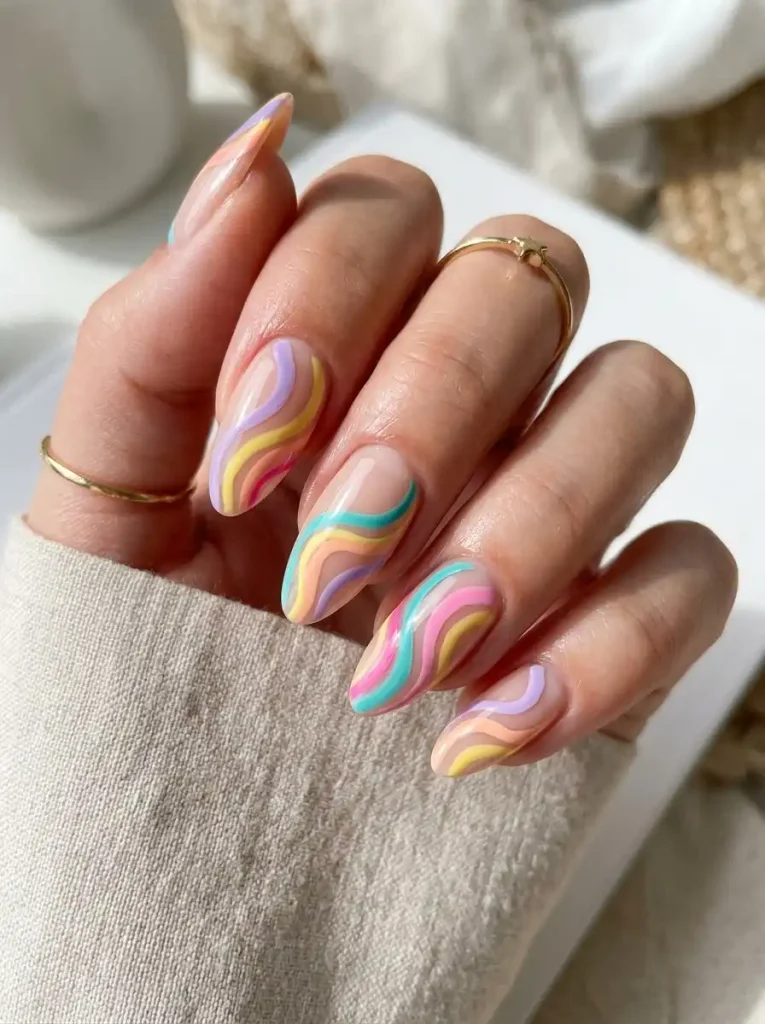
Wavy lines are perfect when you want something artistic without drawing complicated objects. Paint your nails with a neutral base, then use several marker colors to create loose, flowing lines.
Try placing the waves vertically on some nails and diagonally on others so the manicure feels playful instead of perfectly matched.
3. Mini Daisy Nails
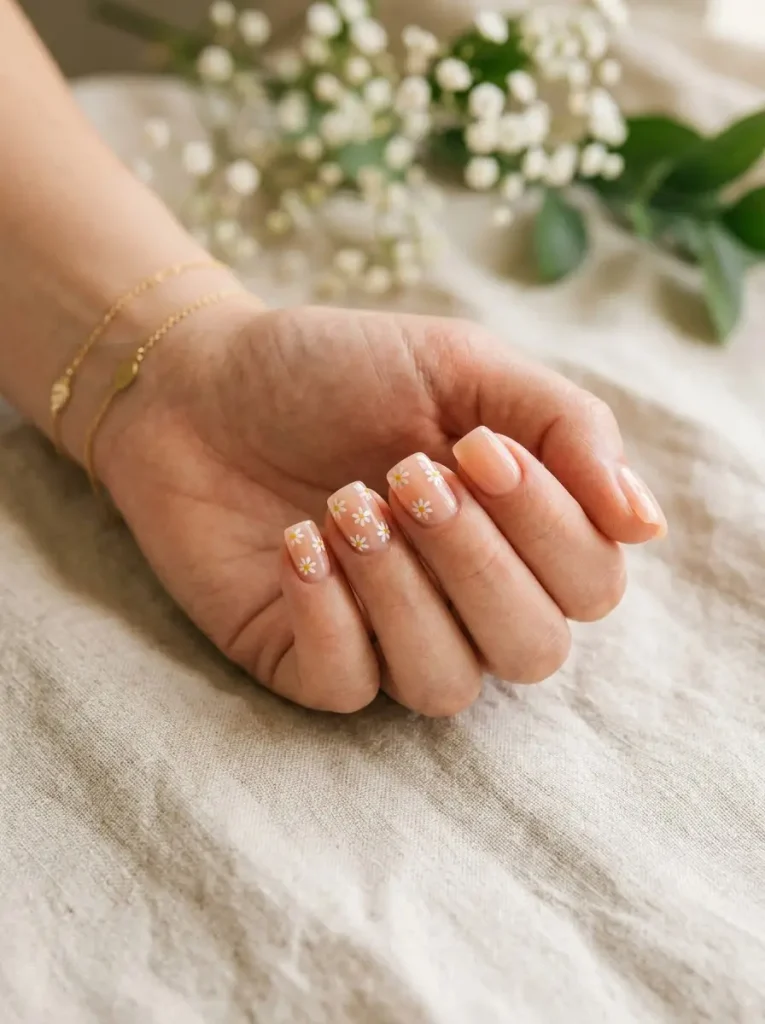
You don’t need a nail-art brush to create tiny flowers. Draw five small petals around a central dot, then repeat the design on one or two accent nails.
A beige or pale-pink base makes the flowers stand out beautifully. You can also switch the flower colors between white, yellow, lilac, and baby blue.
4. Checkerboard Accent Nails
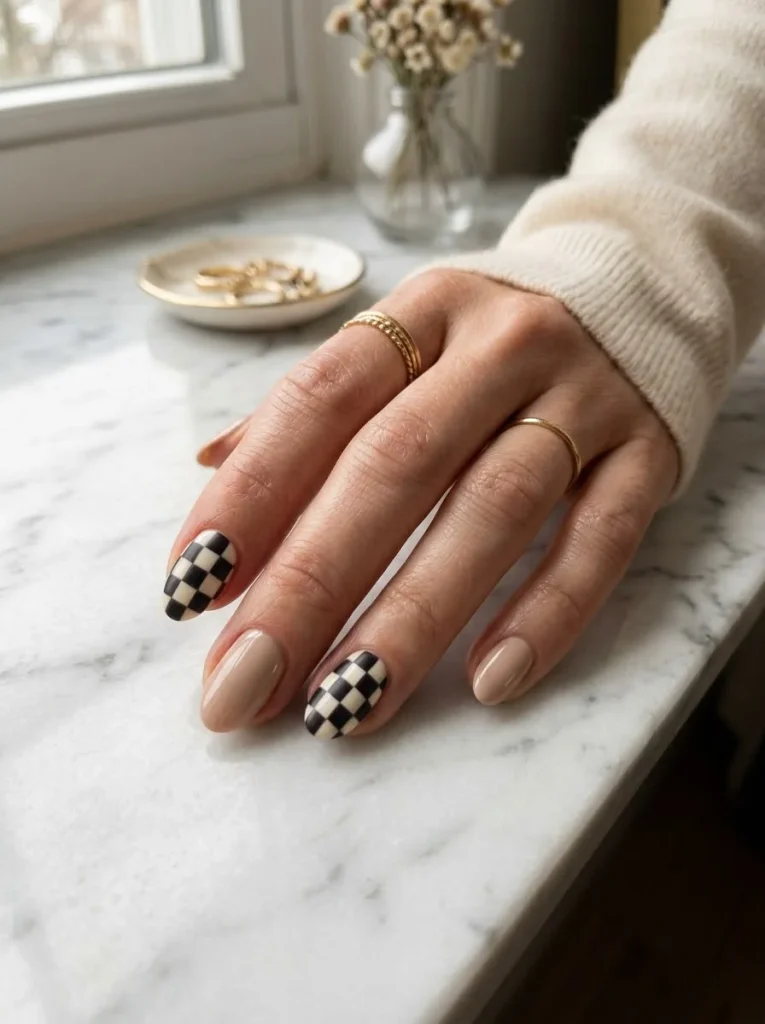
Checkerboard nails can look complicated, but a marker makes the tiny squares much easier to control. Keep the pattern on just one or two nails while leaving the others a solid color.
Black and cream create a timeless combination, while pastel squares give the look a fun Y2K-inspired twist.
5. Starry Night Nails
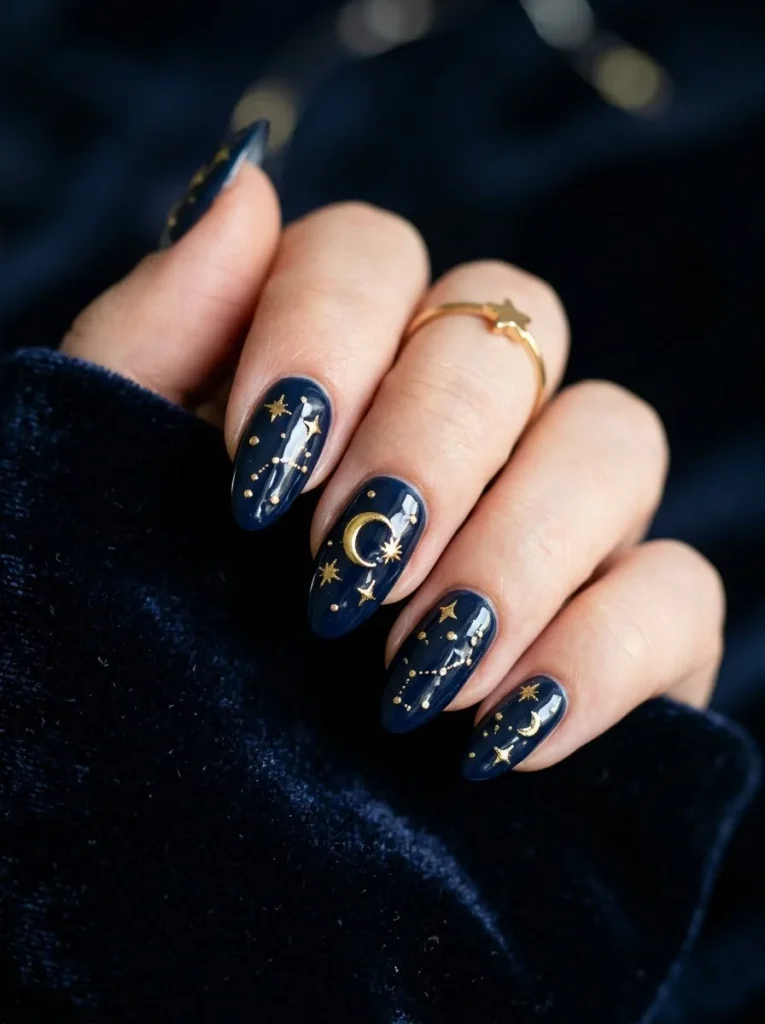
Turn your fingertips into a tiny night sky with simple stars and dots. A deep navy or midnight-blue base makes the design especially striking.
Use a fine marker to create little four-point stars, tiny dots, and scattered crescent shapes. You can keep everything monochrome or add metallic-looking accents.
6. French Tip With Sharpie Details
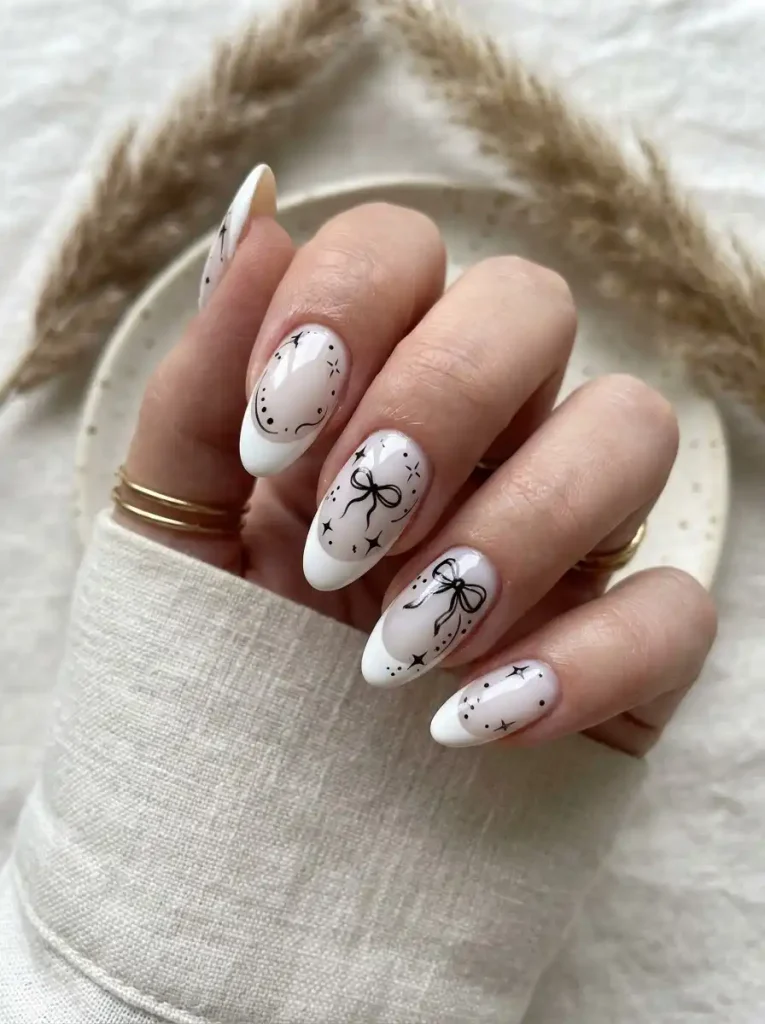
Give a traditional French manicure a creative upgrade by adding tiny marker drawings over the finished tips.
Try little dots, flowers, stars, bows, or miniature squiggles. Because the French base remains simple, even a few tiny details can completely change the appearance without making the manicure feel busy.
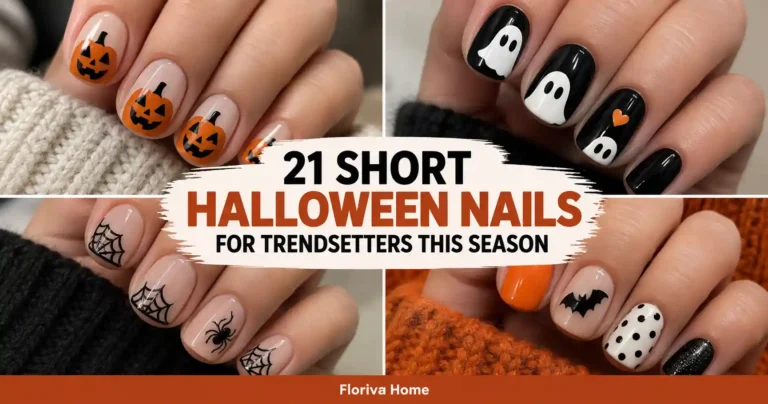
7. Smiley Face Nails
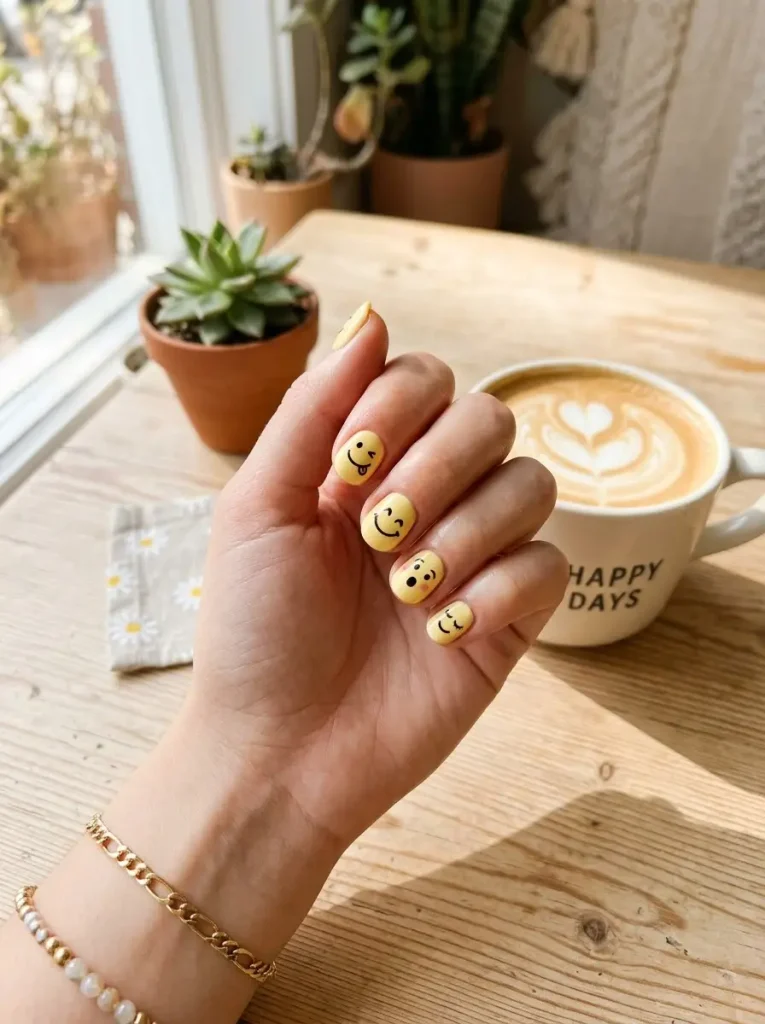
For a cheerful manicure, draw miniature smiley faces across a soft yellow, white, or nude base. Keep the faces slightly different so they look hand-drawn and playful.
You can also make one nail the star of the manicure by adding a larger smiley while using tiny dots on the remaining fingers.
8. Abstract Swirl Nails
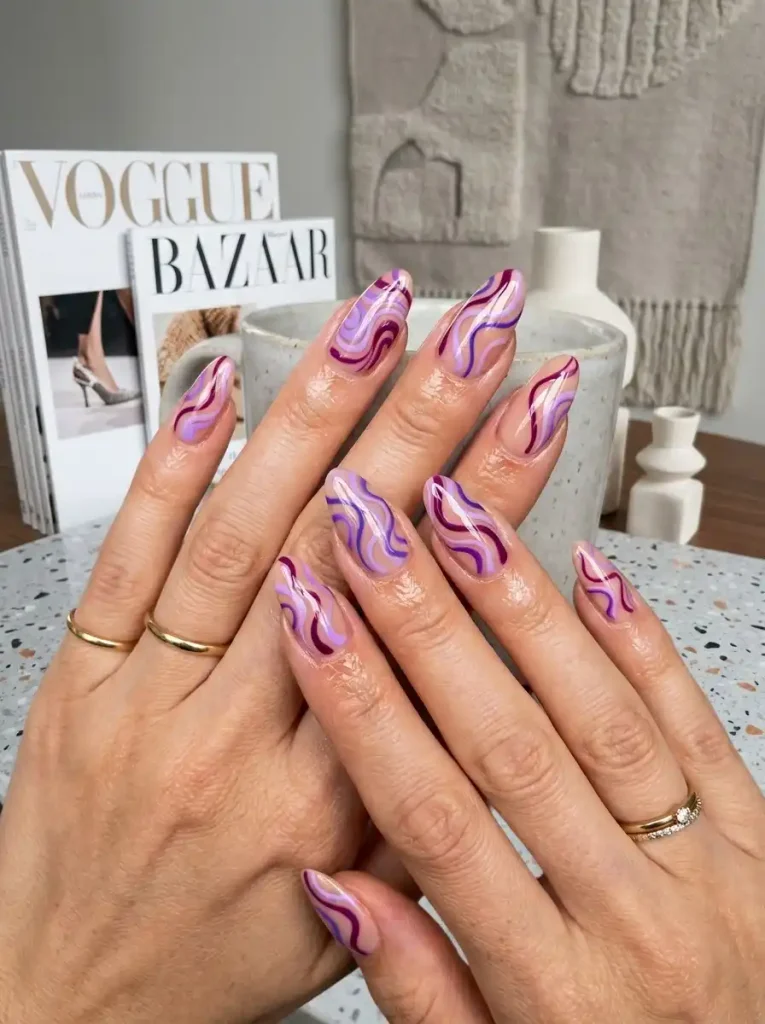
Abstract nail art is especially forgiving because there is no single “correct” shape. Draw curved marker lines that overlap, twist, or gently follow the shape of the nail.
Try combining three shades from the same color family for a polished appearance, such as lavender, violet, and plum.
9. Polka Dot Party Nails
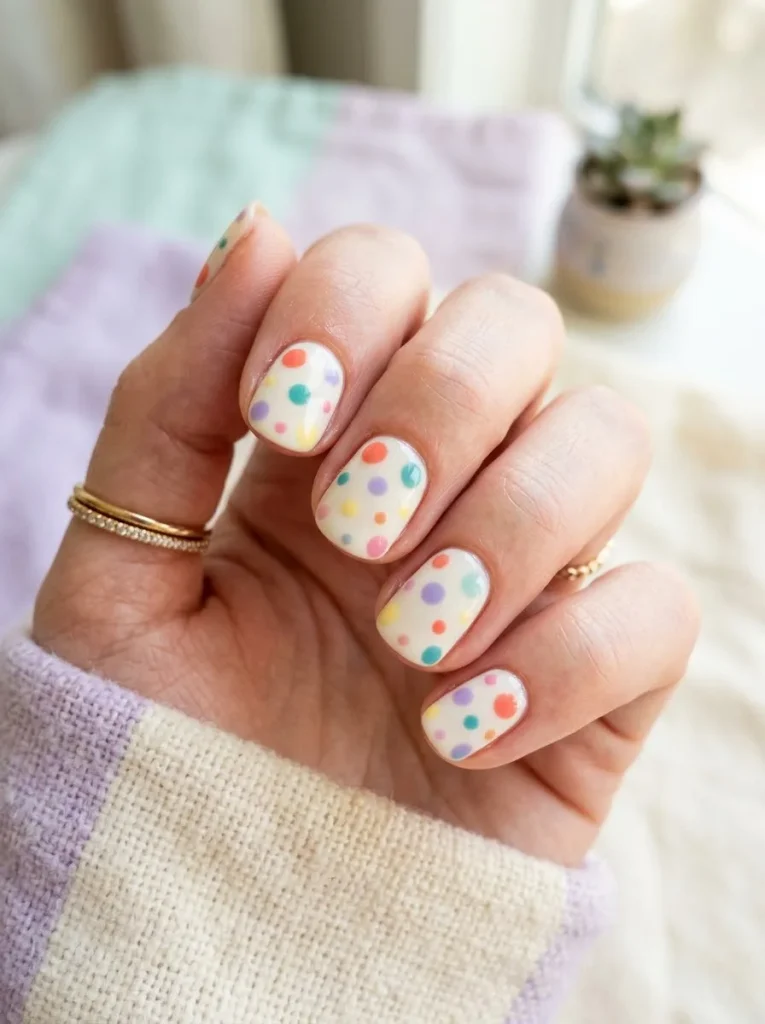
Polka dots are beginner-friendly because you can create them with simple marker taps. Mix tiny and medium dots instead of making every circle identical.
A white base with colorful dots feels playful, while a nude base with black dots creates a more understated retro manicure.
10. Little Bow Nails
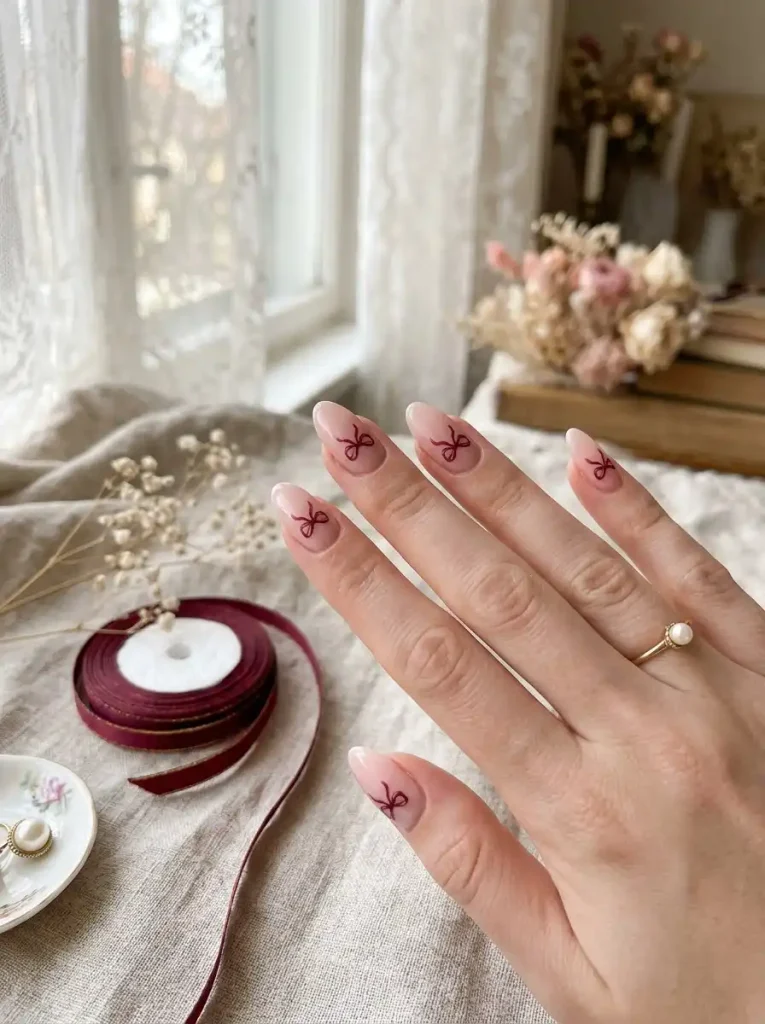
Tiny bows can make an otherwise simple manicure feel instantly more decorative. Start with a pale pink or milky base and draw small bow shapes near the center or tip of each nail.
For a delicate coquette-inspired look, use thin black outlines. For something sweeter, try red, burgundy, or pastel pink details.
11. Mini Cherry Nails
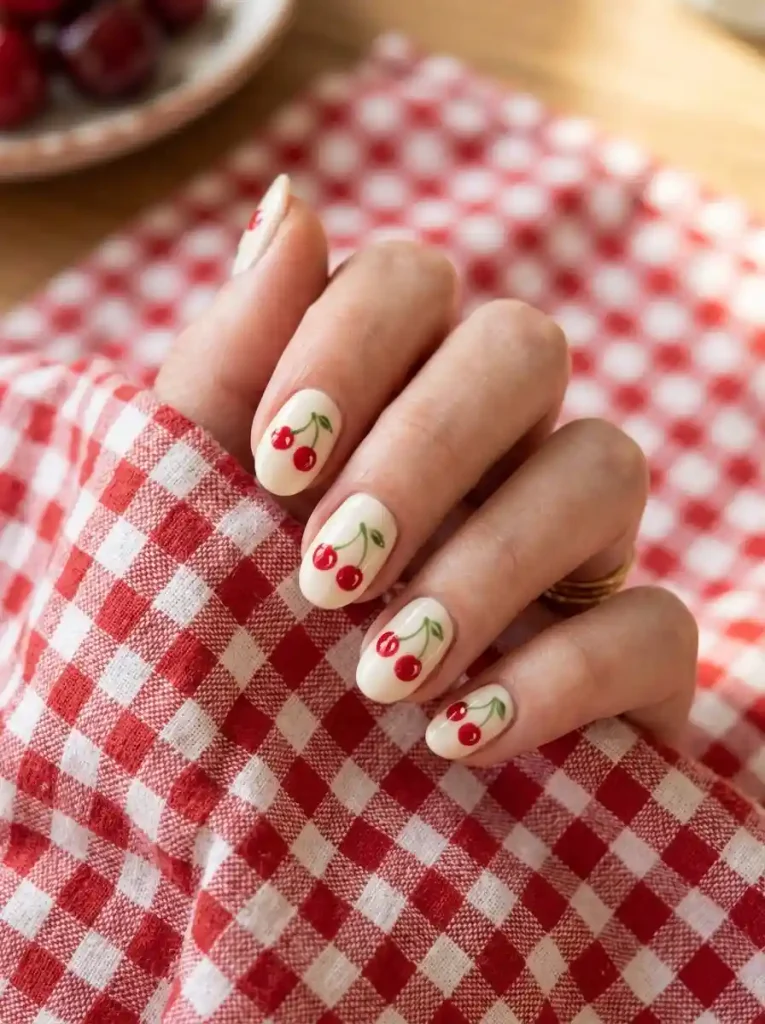
Cherries are a fun way to add a little retro personality to your manicure. Use a pale pink, cream, or transparent base and draw pairs of small red circles with curved green stems.
You don’t need every cherry to look identical. Slight variations make the manicure feel more handmade and charming.
12. Evil Eye Nail Art
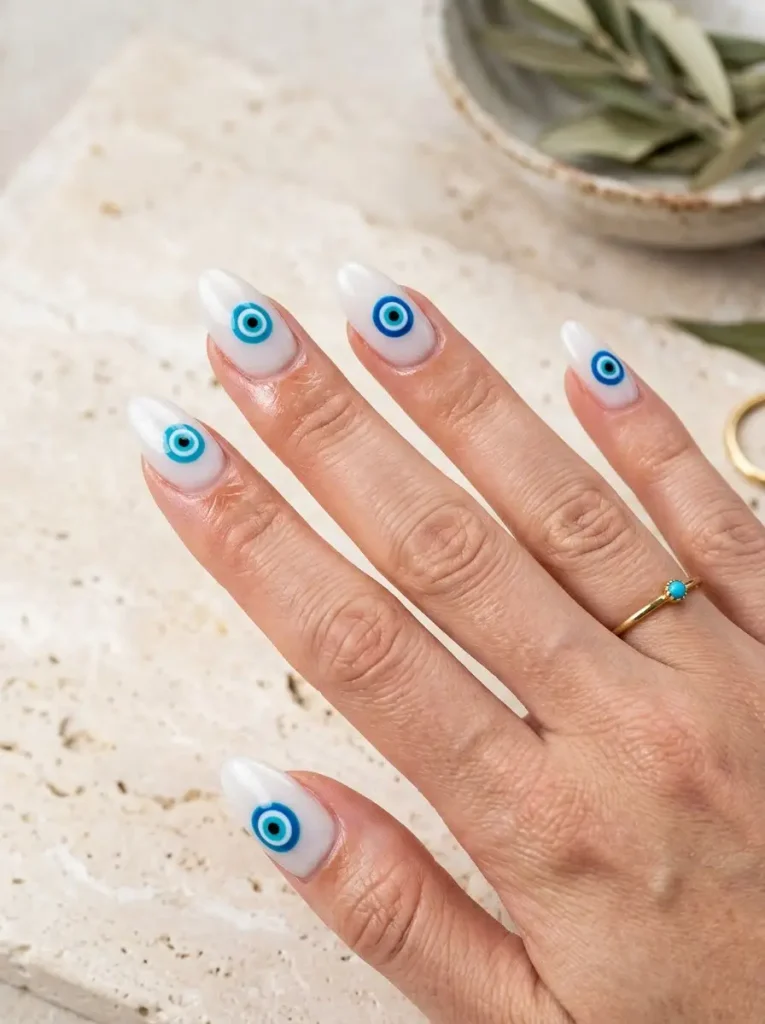
Create an eye-catching manicure with tiny concentric eye designs. Start with a light base and use blue, black, and white details to build simple oval shapes.
Place one eye on each accent nail or scatter several miniature versions across your manicure for a more graphic appearance.
13. Flame-Inspired Nails
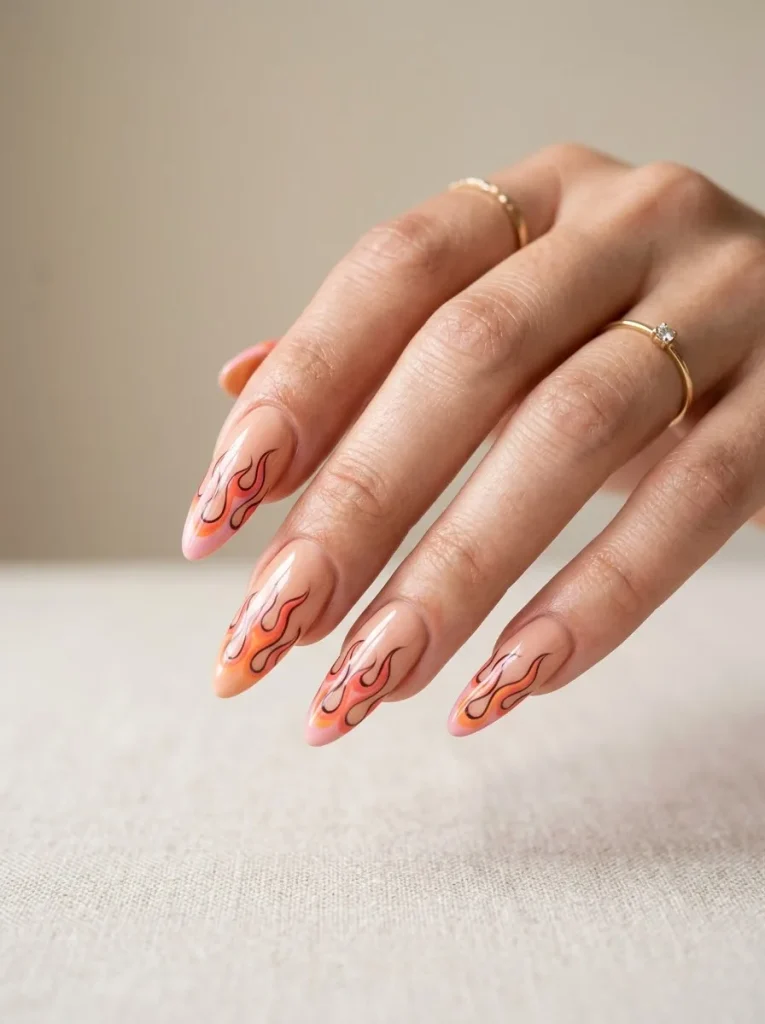
Flame designs don’t have to be bold or neon. Draw miniature curved flame shapes using two or three complementary colors over a neutral base.
For a softer version, choose peach, pink, and orange. If you prefer something dramatic, try black outlines with electric blue or red interiors.
14. Mushroom Doodle Nails
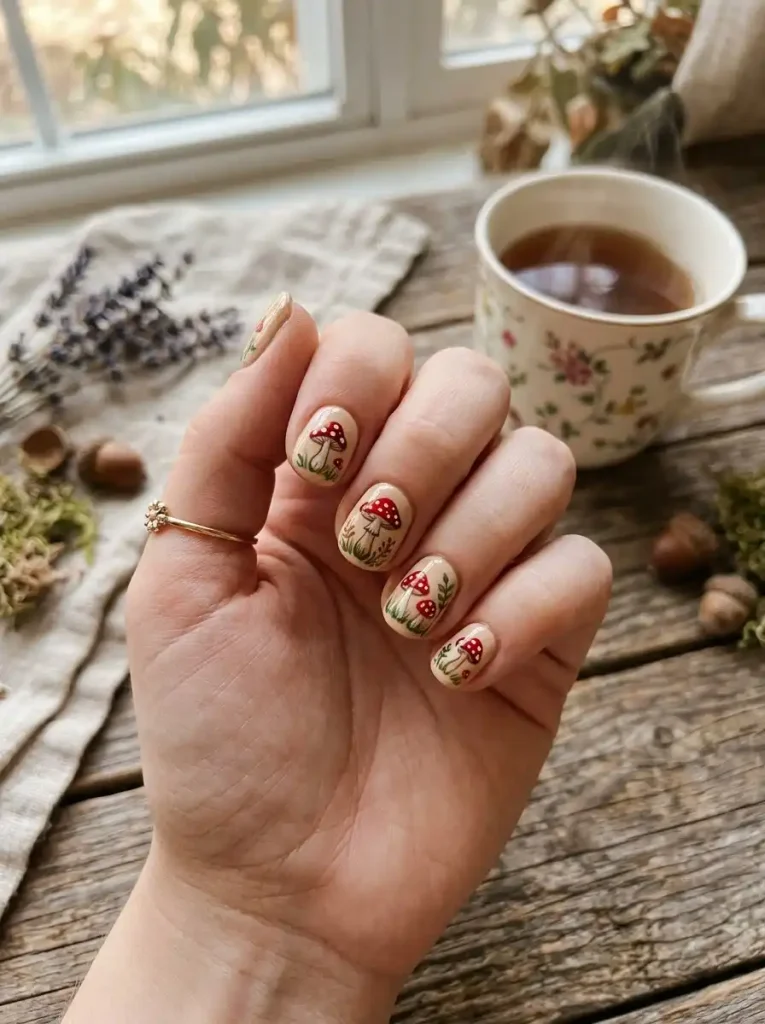
For a whimsical cottagecore manicure, decorate a few nails with tiny mushroom illustrations. A warm beige or sage base works beautifully with red, brown, cream, and green details.
Keep the illustrations small and leave plenty of negative space around them so the overall manicure remains clean.
15. Yin-Yang Accent Nails
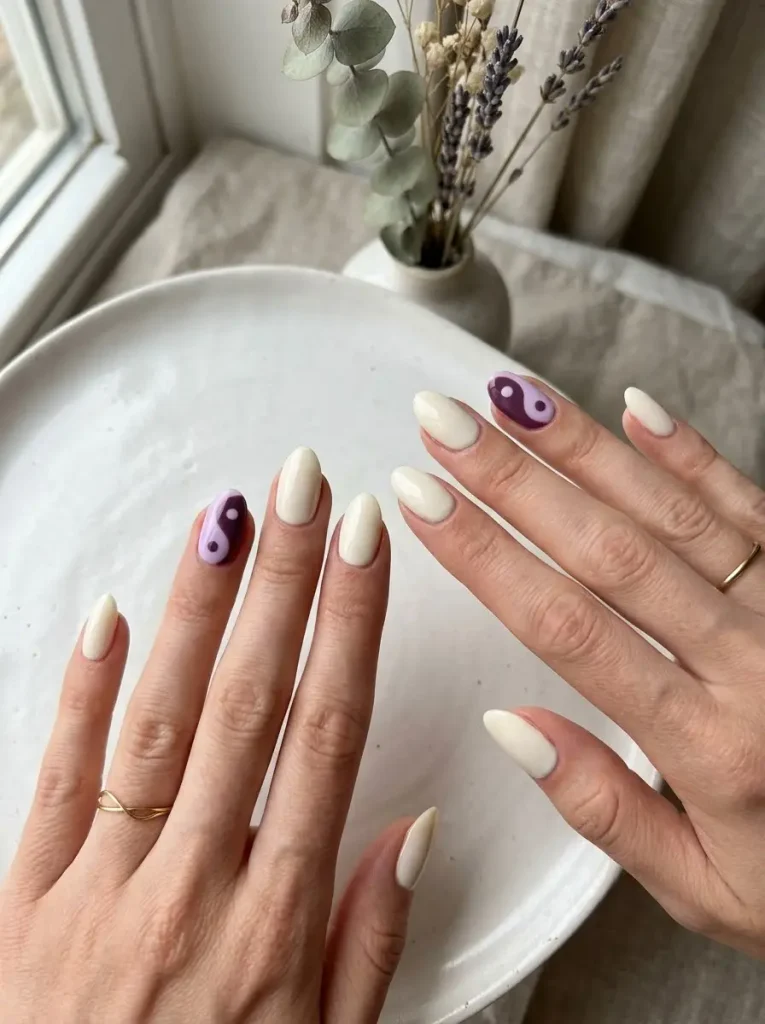
Yin-yang symbols create a simple graphic design that works particularly well on accent nails. Paint the rest of your nails in a neutral shade and reserve the symbol for two or three fingers.
You can also replace traditional black and white with contrasting colors such as lilac and cream.
16. Tiny Fruit Nail Art
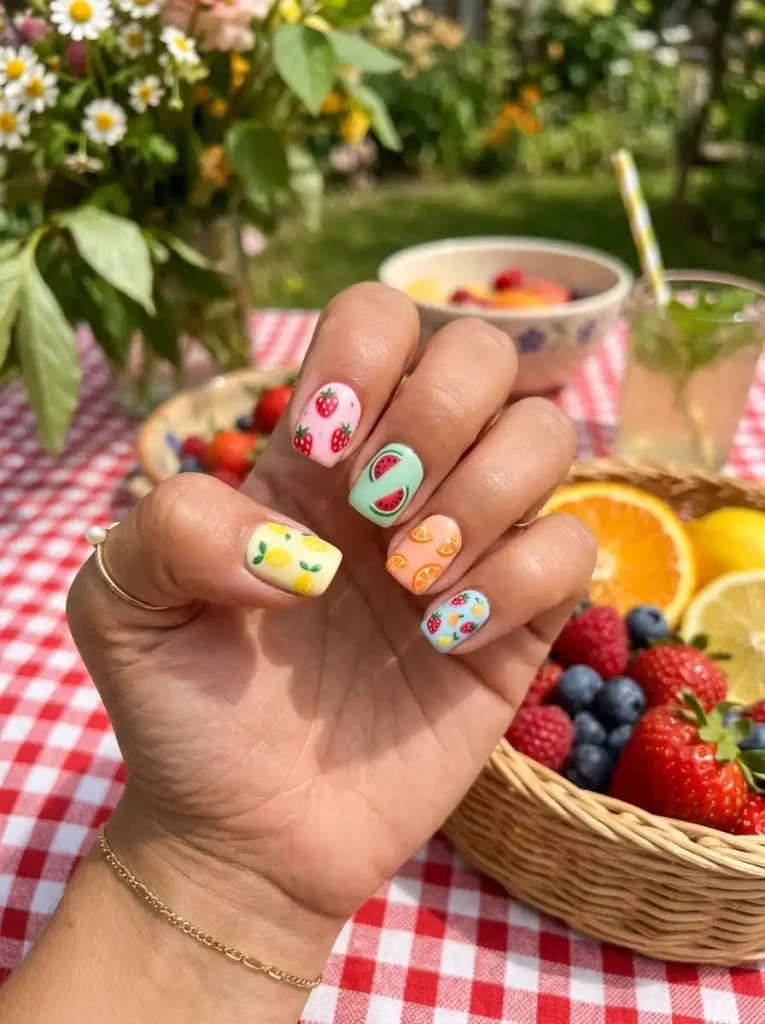
Turn your nails into a miniature fruit collection with tiny lemons, strawberries, oranges, or watermelons.
Choose one fruit for a coordinated manicure or give each accent nail a different design. Keep the shapes simple and use a fine tip for small seeds, leaves, and outlines.
17. Abstract Face Doodles
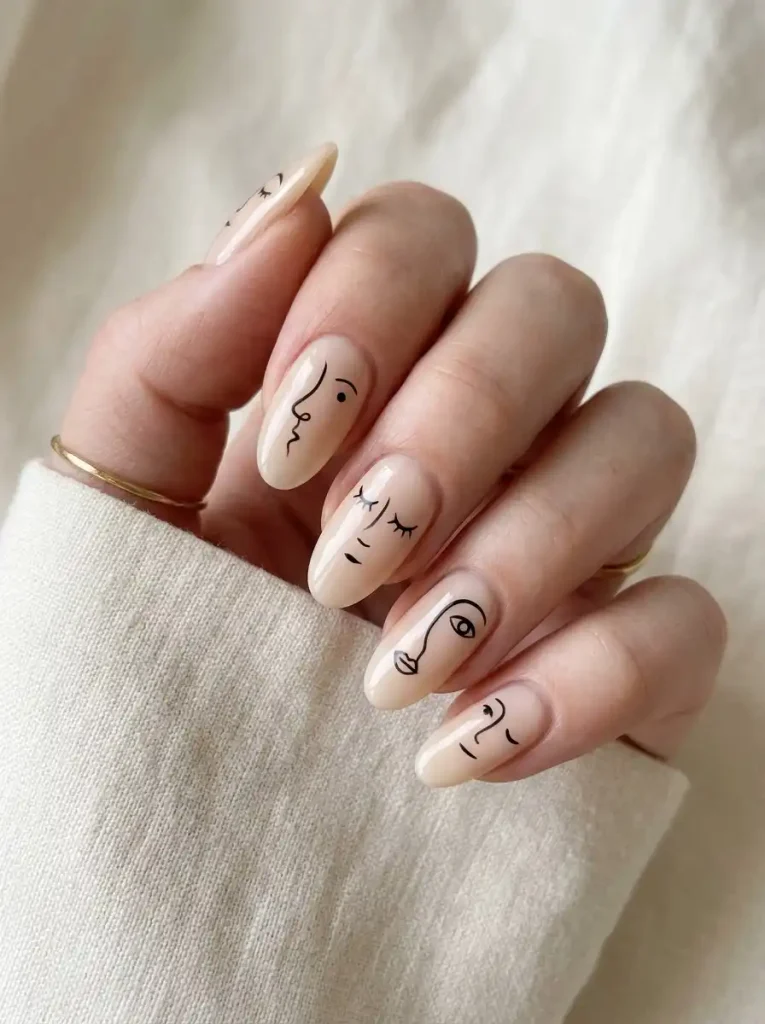
Minimal face drawings are another excellent choice for a fine-tip marker. A single curved line can become an abstract face, making this design much easier than it first appears.
Use black linework over a nude or cream base for an artsy, gallery-inspired manicure.
18. Lightning Bolt Nails
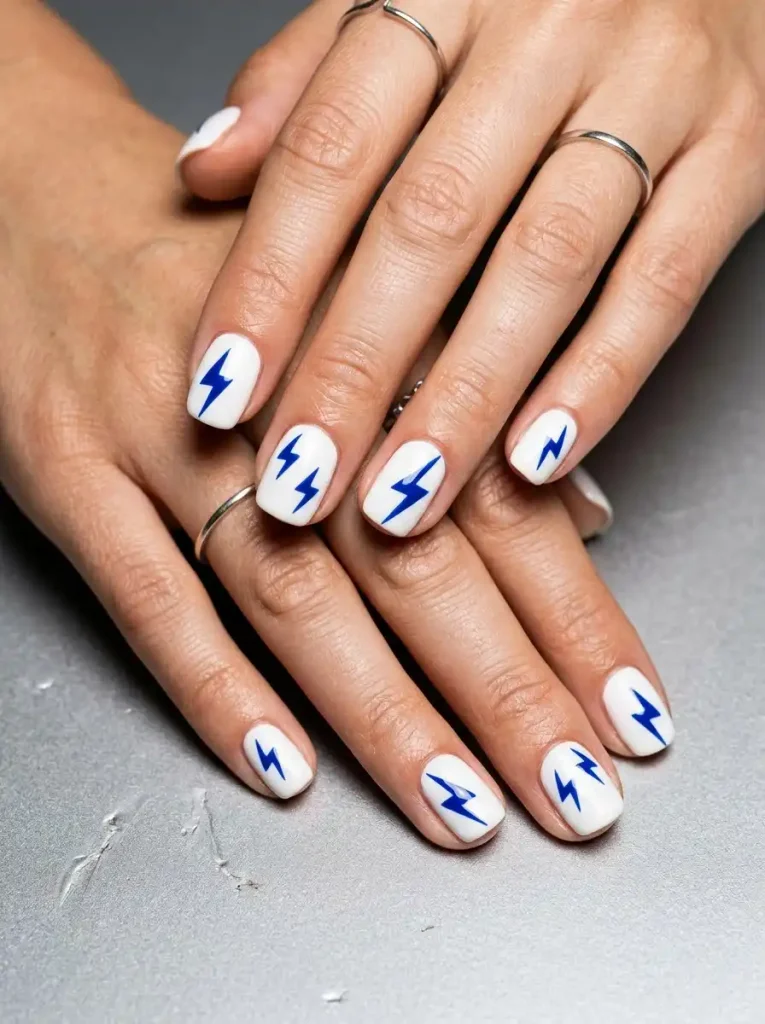
Lightning bolts are quick to draw and instantly give your manicure a graphic edge. Try tiny bolts near the tips or one oversized bolt on an accent nail.
A white base with cobalt blue, red, or black bolts creates a sharp contrast without requiring complicated painting techniques.
19. Tiny Butterfly Nails
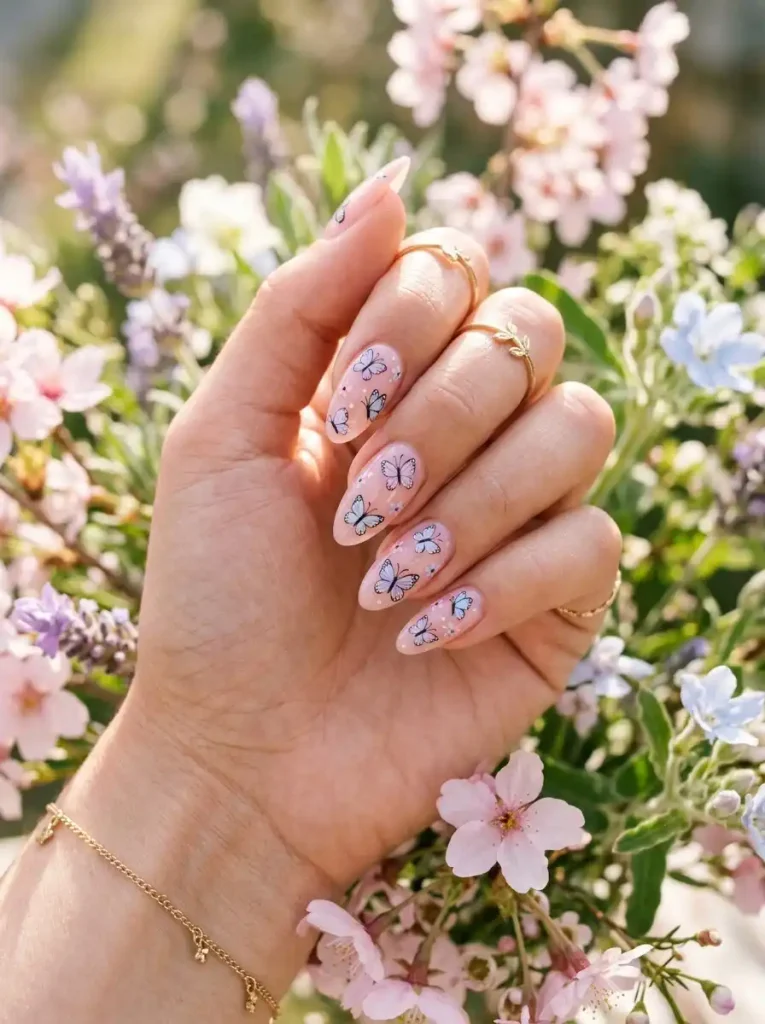
Butterflies can be surprisingly easy when you simplify them into four small wings and a center line. Use a nude or translucent base and place the butterflies mostly on accent nails.
Pastel purple, blue, or pink wings create a delicate look, while black outlines make the tiny shapes easier to see.
20. Tiny Rainbow Nails
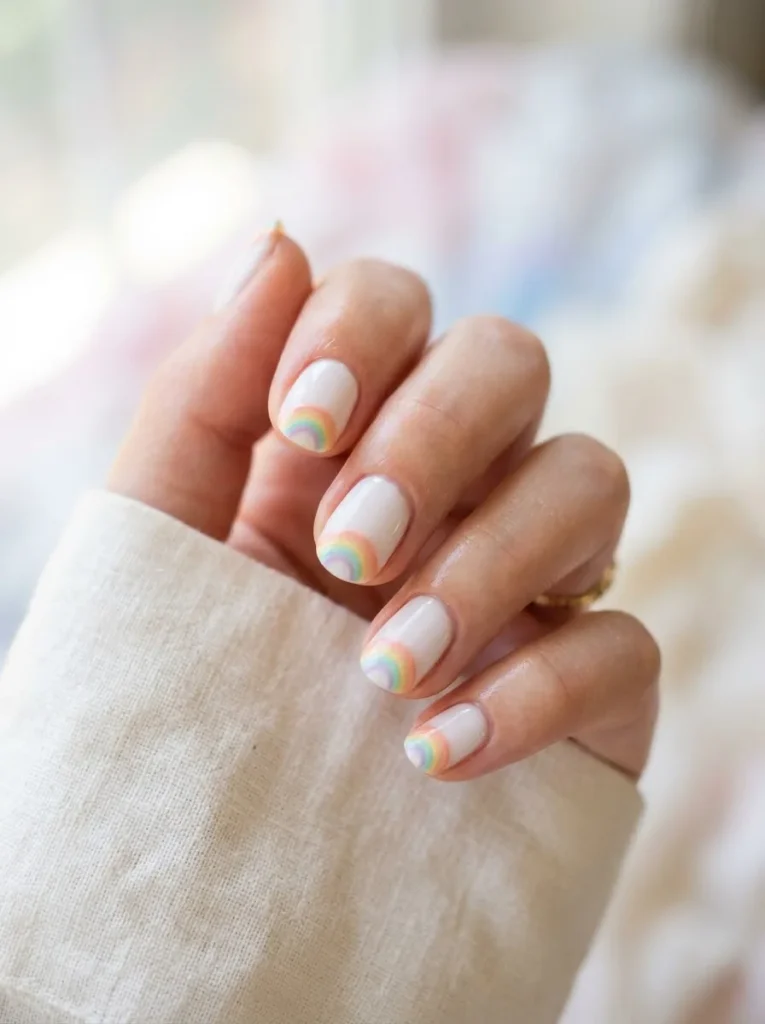
Finish your Sharpie manicure collection with tiny rainbows. Instead of drawing a full detailed rainbow, create several short curved lines in different colors.
They look especially cute over a sheer or milky base. You can place one rainbow near each tip or create a scattered pattern across selected nails.
How to Make Sharpie Nail Art Last Longer
Once you’ve finished your designs, give the artwork enough time to settle before applying your final top coat. Avoid brushing aggressively over the drawings because the ink or fine details can smear.
A few simple habits can also help your manicure stay neat:
- Start with a completely dry base.
- Use thin layers rather than flooding the nail with polish.
- Choose a fine-tip marker for detailed artwork.
- Let each design dry before sealing it.
- Apply the top coat gently rather than repeatedly brushing the same area.
- Seal the free edge of the nail when possible.
- Avoid picking or scratching at the finished design.
Can You Use Regular Sharpies on Your Nails?
Regular permanent markers aren’t designed as cosmetic products, so they aren’t the safest choice for direct skin or nail use. If you’re experimenting with marker nail art, a product specifically made for nails or cosmetics is the better option.
If you do use a regular marker on fully cured polish, keep it away from your cuticles and surrounding skin, work in a well-ventilated area, and remove the design if you experience irritation.
What Base Colors Work Best With Sharpie Nail Art?
The best base depends on the type of design you’re creating. Light colors generally provide the strongest contrast for darker marker details.
Good options include:
- Milky white
- Nude beige
- Pale pink
- Soft lavender
- Light blue
- Cream
- Transparent or sheer pink
For brighter marker designs, a muted or neutral base usually allows the artwork to become the main focus.
Tips for Beginners
If this is your first time trying marker nail art, don’t start with complicated illustrations. Begin with dots, waves, tiny hearts, stars, or simple flowers.
It can also help to practice your design on paper first. Once your hand becomes comfortable with the shape, recreate it on your nail using short, controlled movements.
Remember that handmade nail art doesn’t have to be perfectly symmetrical. Small differences between nails can actually make the finished manicure look more creative and personal.
Final Thoughts
Sharpie-style nail art is a fun way to experiment with creative manicures without needing an entire collection of professional nail-art brushes. Simple lines, tiny symbols, playful doodles, and miniature illustrations can completely transform an otherwise basic manicure.
Whether you prefer minimalist hearts, colorful waves, tiny fruits, celestial details, or whimsical doodles, the key is to start simple and build your confidence.
Pick one design from this list, grab your favorite base color, and experiment with your own combination of shapes and colors. Your first attempt doesn’t need to be perfect—it just needs to be yours.