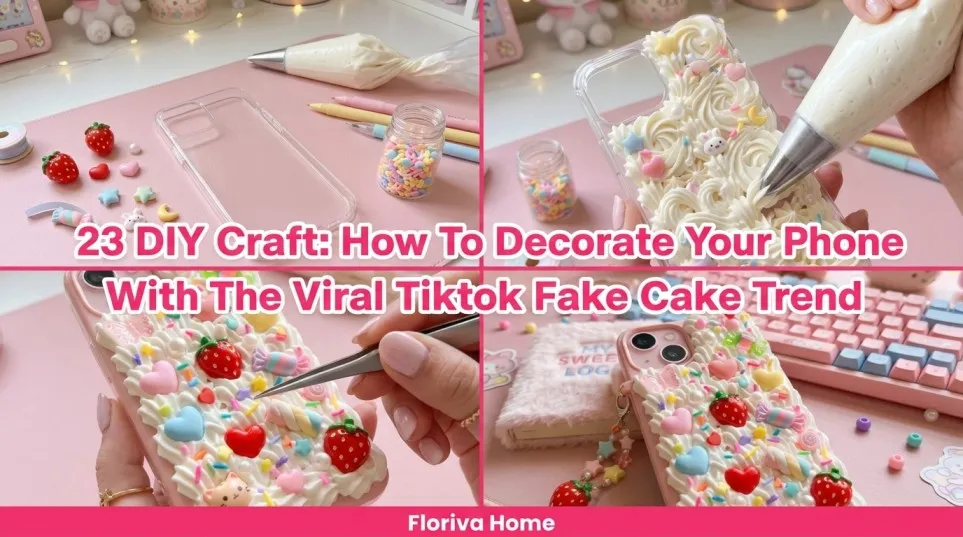
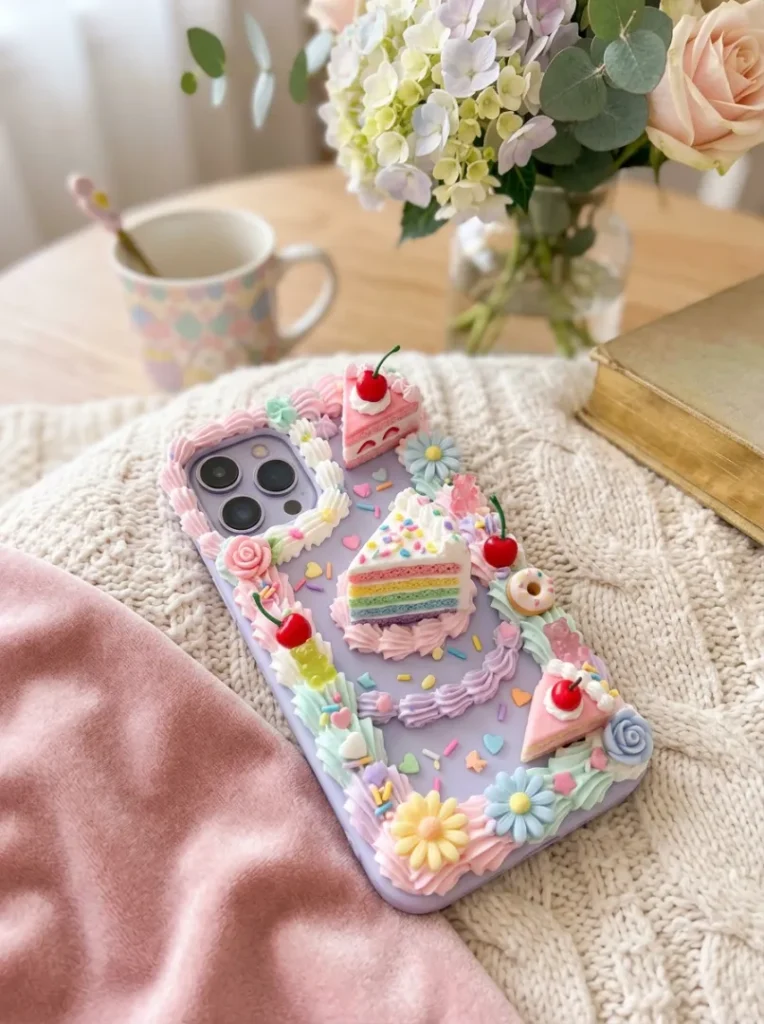
23 Fake Cake Phone Case Fun DIY Craft Project Steps That Are Seriously Addictive
There’s something irresistibly charming about turning everyday items into adorable, dessert-inspired creations—and this fake cake phone case DIY is the perfect blend of creativity and cuteness.
With its whipped frosting textures, pastel colors, and playful decorations, this project transforms a simple phone case into a dreamy, bakery-style masterpiece.
Whether you’re a craft lover, a kawaii aesthetic fan, or just looking for a fun hands-on activity, this step-by-step guide will walk you through creating a sweet illusion that looks almost good enough to eat.
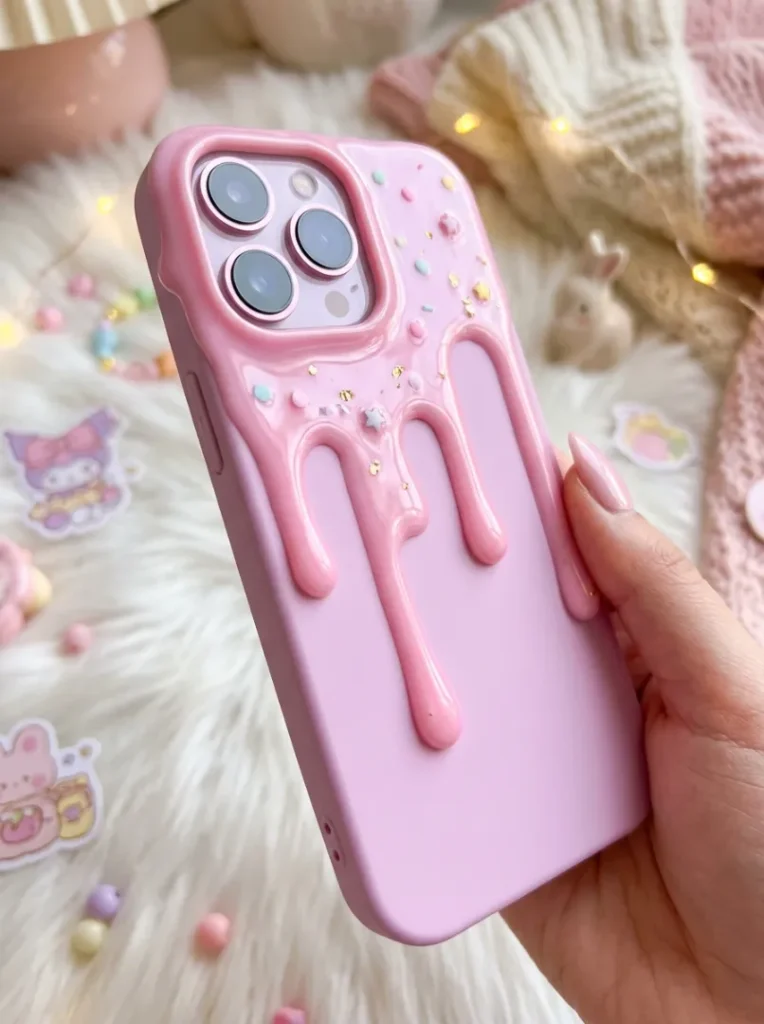
1. Whip Up the Base: Start Your Sweet DIY Illusion
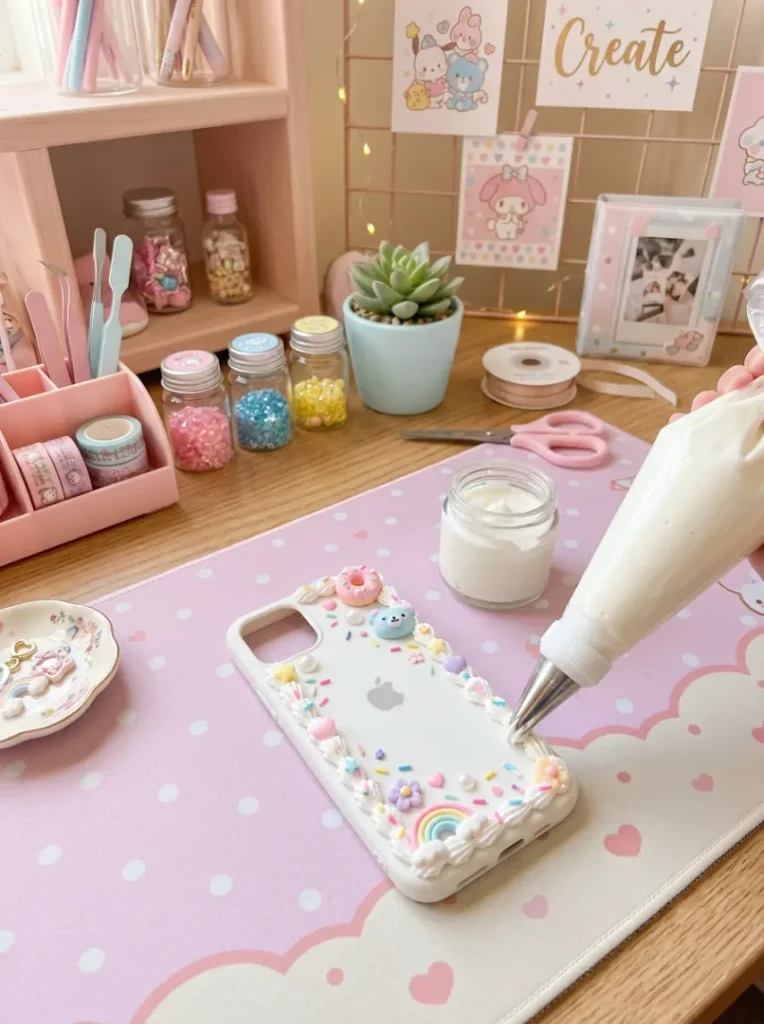
Begin by selecting a sturdy, plain phone case as your base—preferably matte or slightly textured so the “frosting” adheres well. Clean the surface with alcohol wipes to remove dust and oils, ensuring a smooth application.
This step sets the foundation for your entire fake cake design, so take your time preparing it properly. A clean base helps the whipped cream texture stick better and last longer.
Next, plan your design before applying anything. Think about colors, patterns, and placement of decorations. Sketch a rough idea or visualize your cake style—whether it’s a strawberry shortcake vibe or a pastel birthday cake theme. This early planning makes the process smoother and avoids messy mistakes. A well-prepped base is like a blank canvas ready for your sugary creativity.
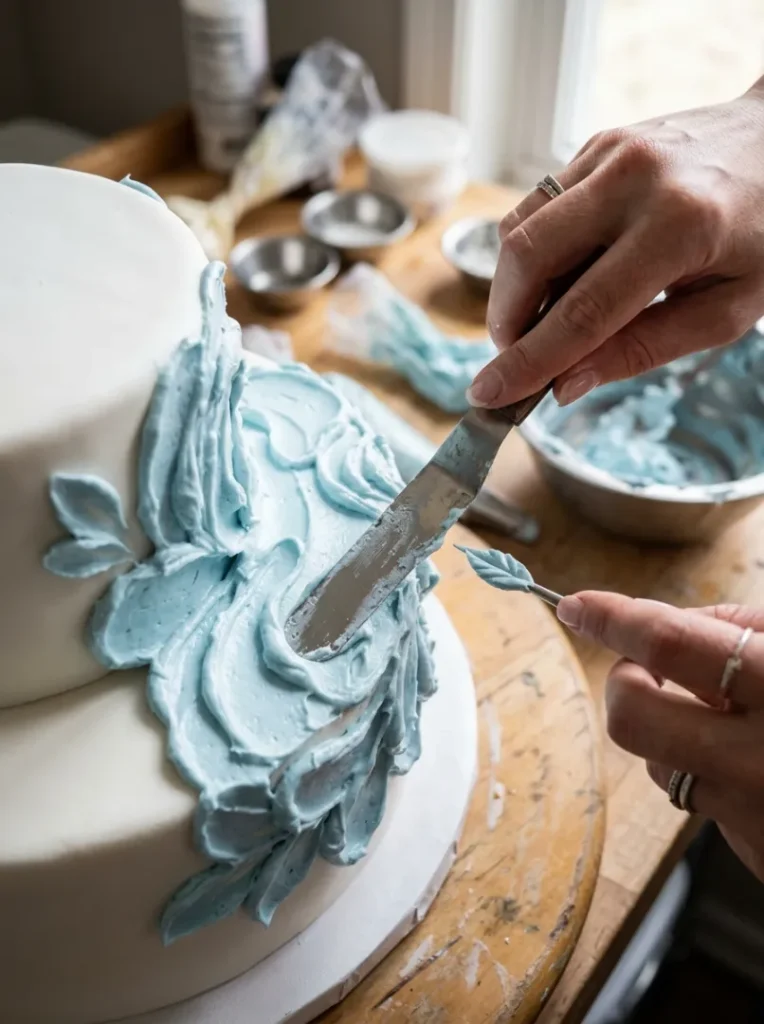
2. Mix the Perfect “Frosting” Texture
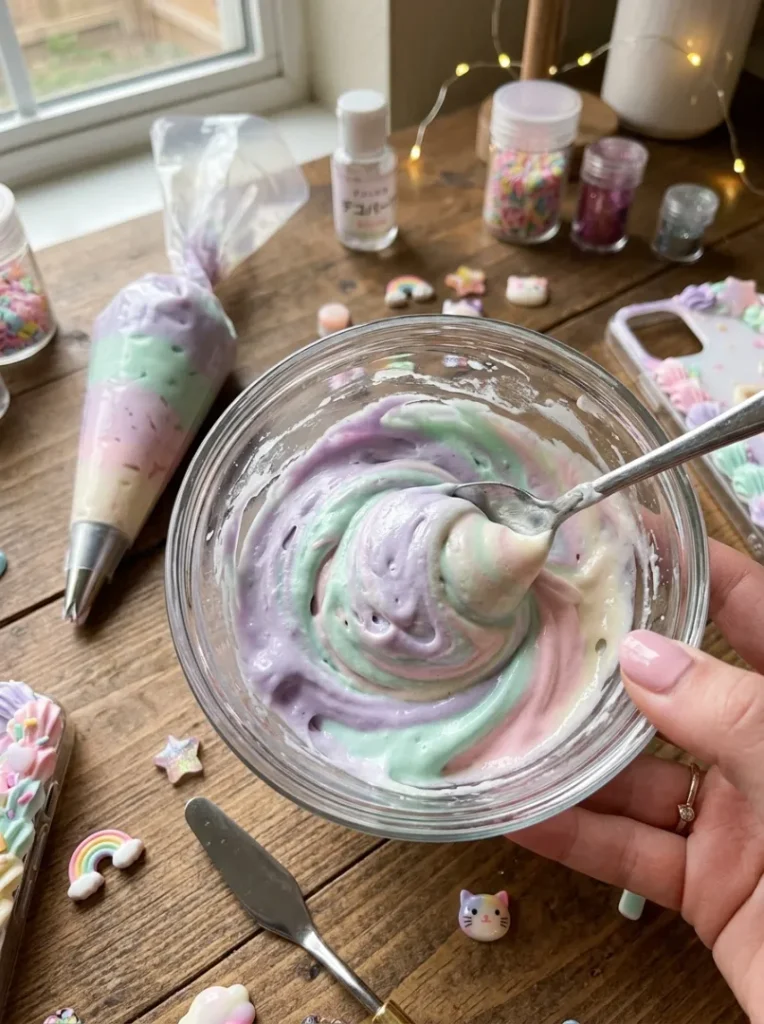
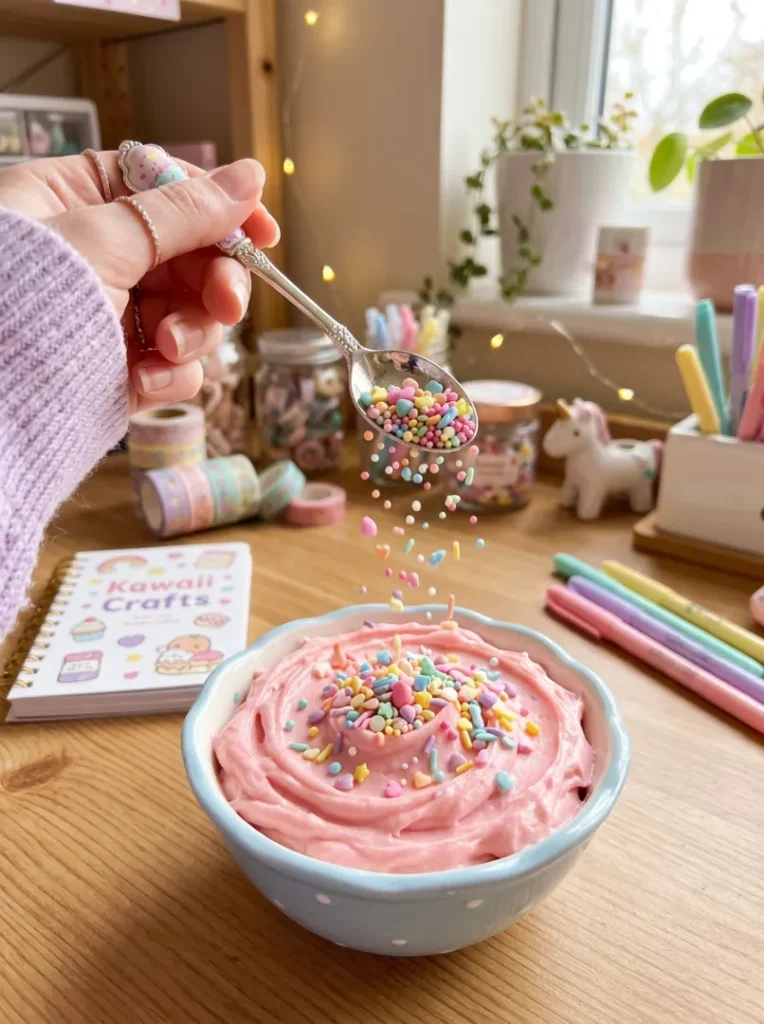
To create the iconic whipped cream look, use silicone sealant or specialized cream glue designed for DIY crafts. Mix it until it reaches a thick, fluffy consistency similar to real frosting. If it’s too runny, it won’t hold shape; too thick, and piping becomes difficult. Achieving that perfect balance is key to realistic texture.
You can also tint your “frosting” using acrylic paint or pigment. Add small amounts and mix thoroughly to create soft pastel shades like baby pink, lavender, or mint green. Avoid over-mixing colors to maintain a creamy look. This step is where your fake cake starts to feel real, so focus on texture and color harmony.
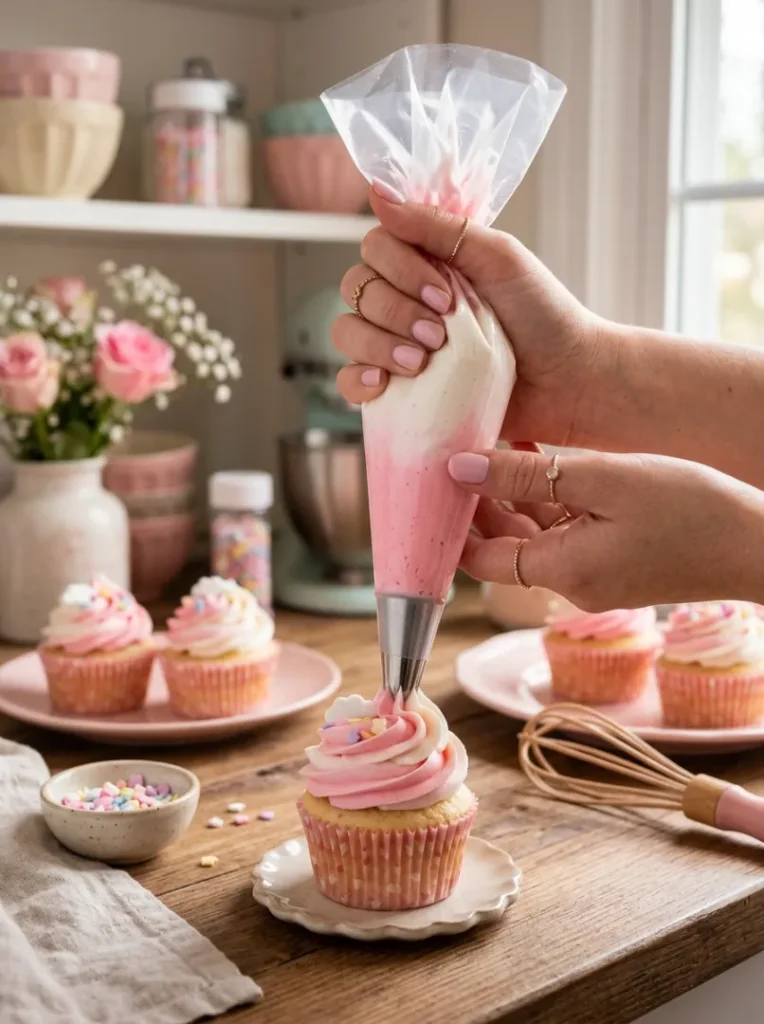
3. Load Your Piping Bag Like a Pro
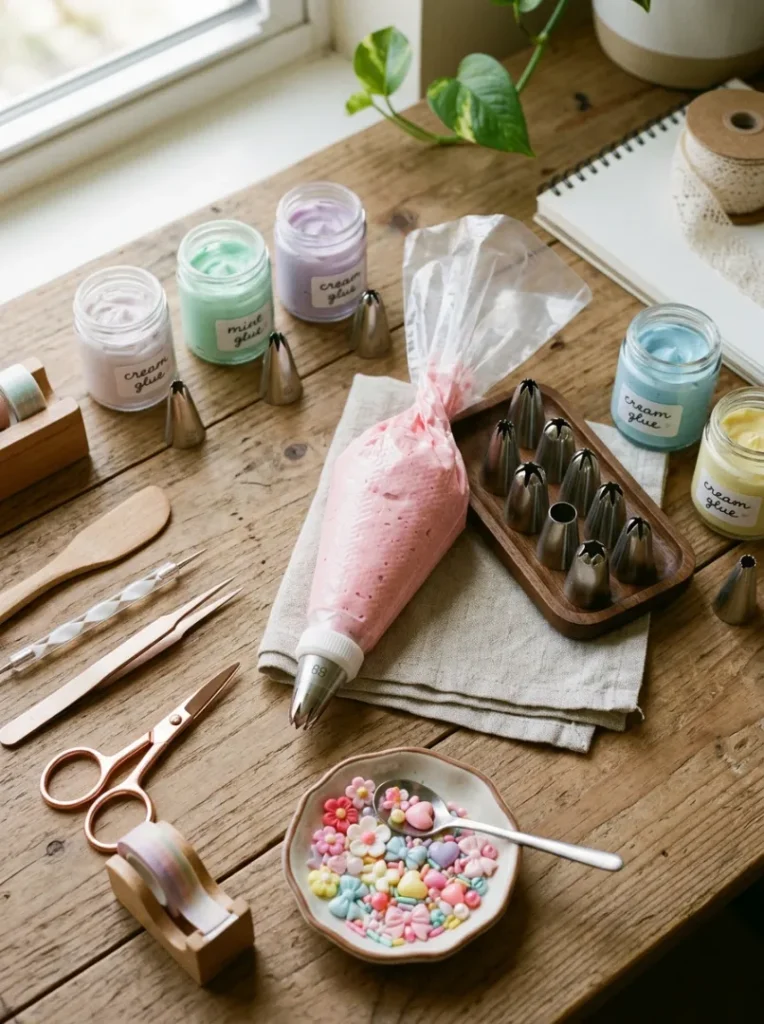
Transfer your prepared cream mixture into a piping bag fitted with a decorative nozzle. Star tips work best for that classic cake frosting effect. Fill the bag halfway to maintain control and prevent overflow. Twist the top tightly to keep pressure consistent while piping.
Practice piping on a scrap surface before applying it to your phone case. This helps you get comfortable with pressure and motion. Smooth, controlled piping creates cleaner swirls and more realistic cake designs. Mastering this step ensures your final design looks polished rather than messy.
4. Pipe the First Frosting Layer
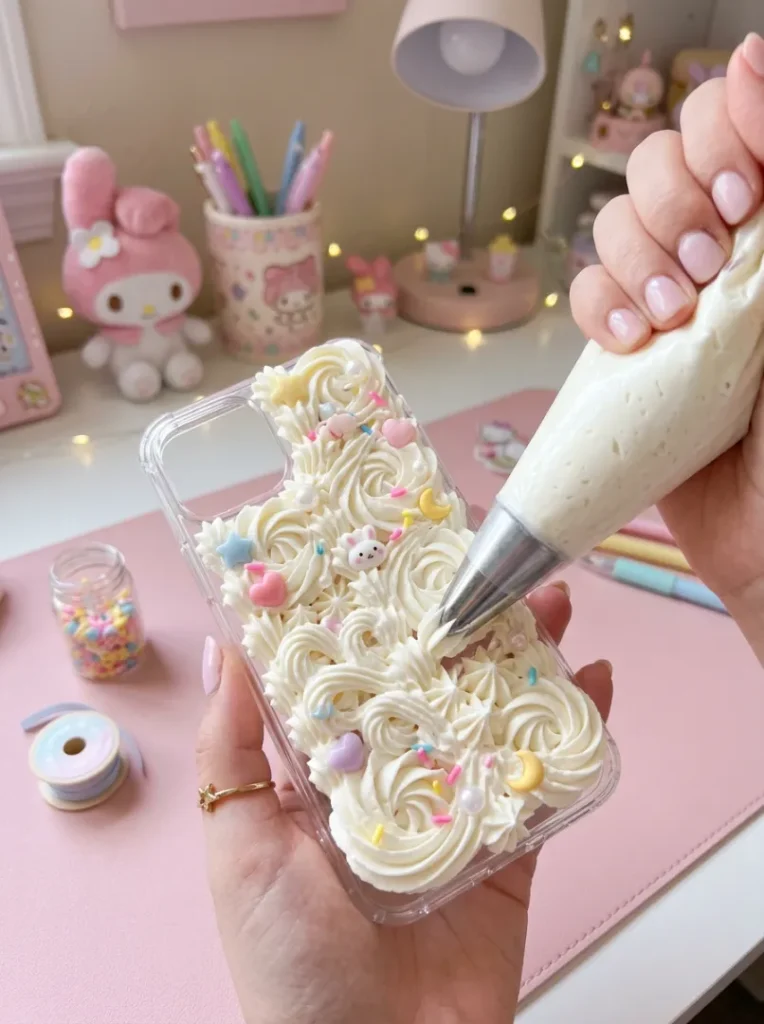
Start piping your first layer directly onto the phone case. Use steady pressure and move in circular or wave motions to mimic real cake frosting. Cover the entire surface evenly, ensuring no gaps remain. This layer acts as the base “cake icing,” so consistency is important.
Don’t rush—slow, controlled movements give the best results. If you make a mistake, gently smooth it out with a tool or reapply. This layer doesn’t need to be perfect since decorations will enhance it later. Focus on building a textured, fluffy base that looks deliciously realistic.
5. Build Height for That 3D Cake Effect
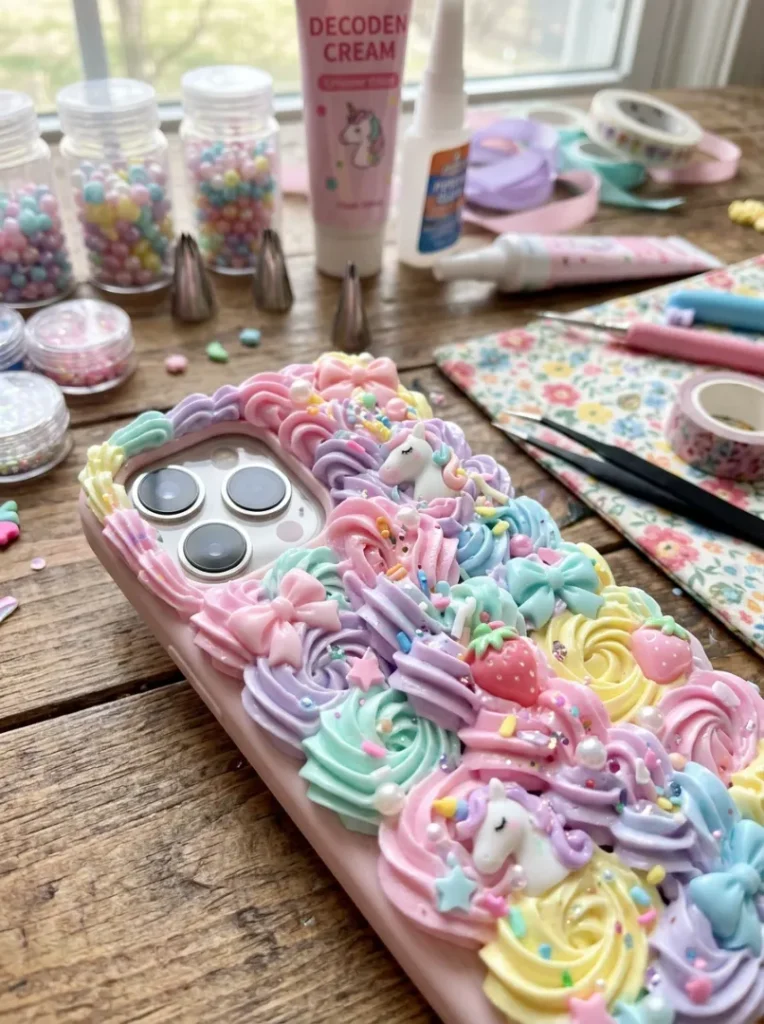
To achieve that iconic fake cake look, add extra layers of piping to create height and dimension. Focus on corners and edges to give a stacked frosting appearance. Layering adds depth and makes your design pop visually.
Use different piping styles—swirls, dots, or zigzags—to create variation. This technique transforms a flat design into a realistic mini cake. Be mindful not to overdo it, as excessive layering can make the case bulky. Balance is key for both aesthetics and usability.
6. Add Drip Icing Details
Create a drip icing effect by slightly thinning your cream mixture so it flows more easily. Apply it carefully along the edges of your phone case, allowing gravity to naturally pull the icing downward. This technique recreates the look of melted frosting on a real cake, adding a soft and playful bakery-style touch that enhances realism.
Take your time controlling the length and thickness of each drip by adjusting your hand pressure and angle. Short drips create a neat and cute appearance, while longer drips add a more dramatic and eye-catching effect. This small but detailed addition makes your design feel more dynamic and gives your fake cake phone case a polished, professional finish.
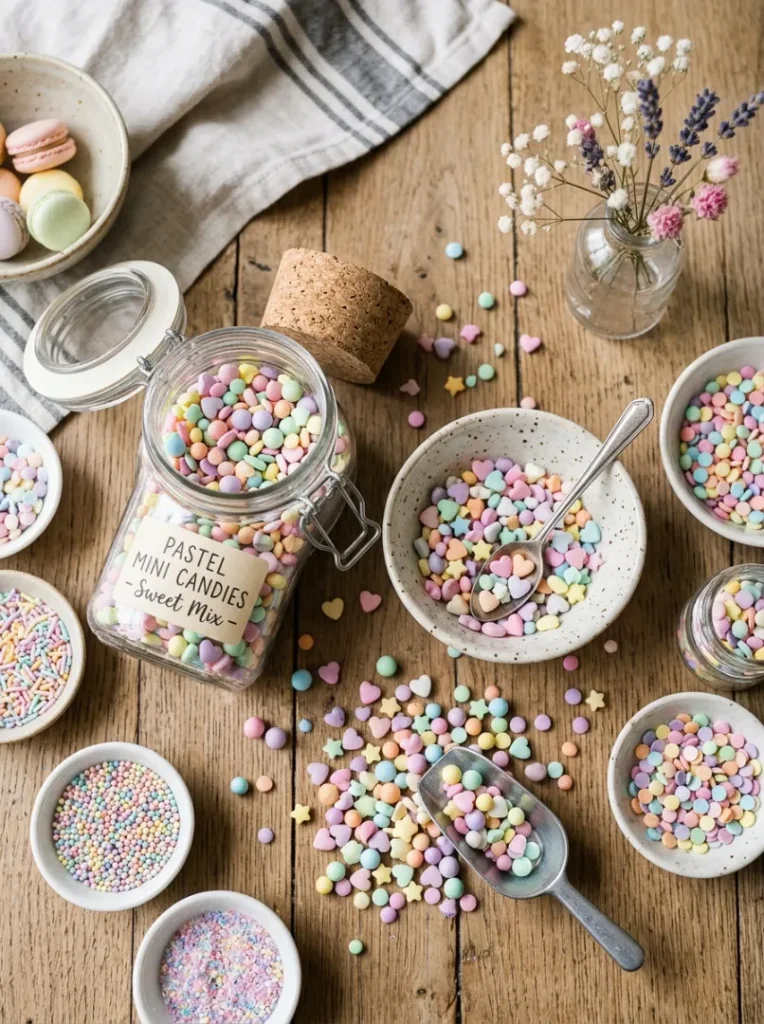
7. Sprinkle Some Sweet Magic
While the frosting is still soft and wet, gently add sprinkles such as tiny beads, faux sugar crystals, or decorative glitter. These small elements stick easily to the surface and mimic real cake toppings, instantly making your design look more realistic and visually appealing.
You can either spread the sprinkles evenly across the surface or cluster them in certain areas for a playful and creative look. Choosing colors that match or complement your frosting enhances the overall design. Even though this step is simple, it plays a big role in adding texture and charm to your phone case.
8. Decorate with Mini Charms
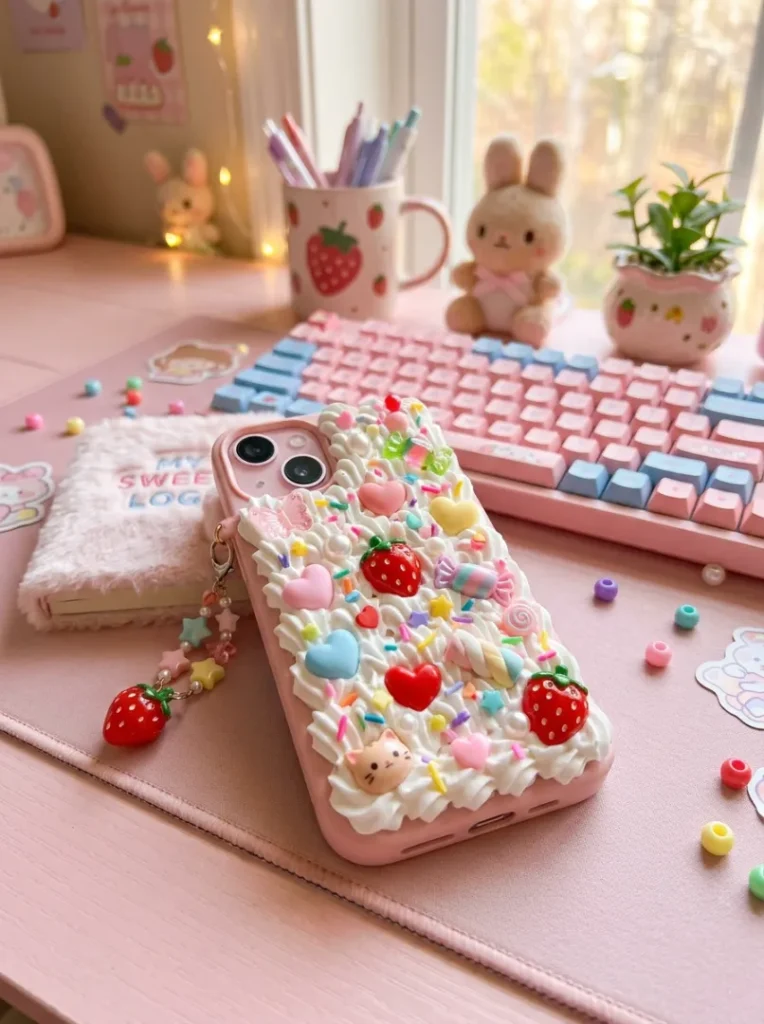
Add personality to your design by placing small decorative charms like strawberries, hearts, bows, or candy shapes onto the frosting. Gently press each charm into the soft cream so it stays securely in place as it dries.
Try mixing different shapes and sizes to create a unique composition that reflects your style. These charms transform your phone case into a miniature dessert scene, making it more interesting and fun. This step allows you to be creative and turn your design into a tiny, edible-looking fantasy.
9. Create Rosette Swirls
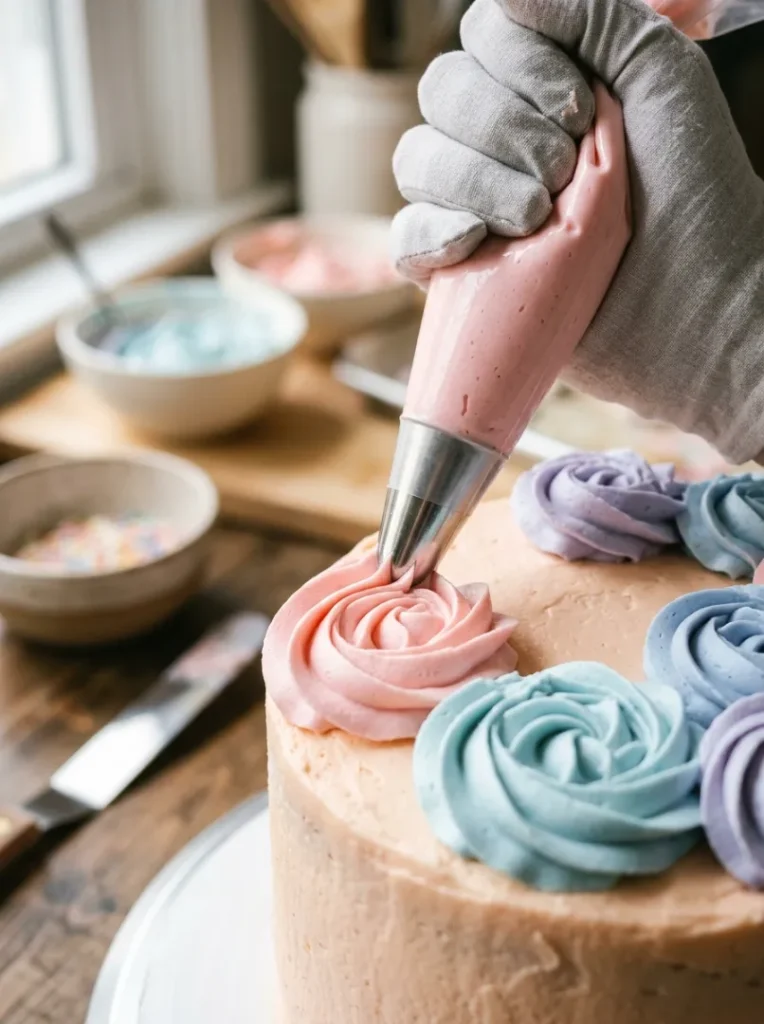
Use a star-shaped piping nozzle to create rosette swirls across your phone case. Start piping from the center and slowly spiral outward to form a neat floral frosting design that looks elegant and realistic.
You can place these rosettes randomly or arrange them in patterns depending on your design idea. They are especially useful for filling empty spaces while adding texture and beauty. Rosette swirls give your phone case a classic cake decoration look and make the overall design feel more refined.
10. Add Color Gradients
To create a soft gradient effect, fill your piping bag with two colors side by side. When piped, the colors blend naturally, creating a smooth ombré effect that looks modern and visually pleasing.
Experiment with gentle pastel combinations like pink and white or lavender and cream to maintain the cute aesthetic. Gradients add depth and dimension to your design, making it stand out more. This technique gives your fake cake phone case a stylish and professional appearance.
11. Use Pearl Accents for Elegance
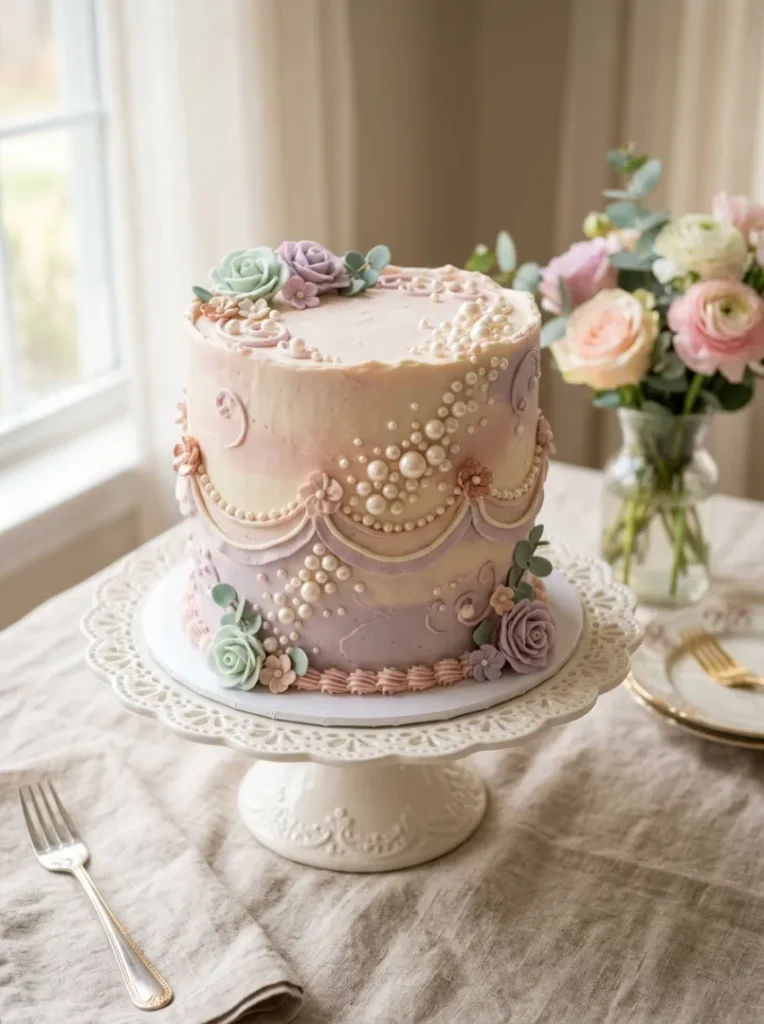
Place small pearl-like beads onto the frosting to give your design a classy and elegant feel. These decorative elements resemble luxury cake decorations often seen on special occasion desserts.
You can space them evenly for a neat look or group them together for variation. Their subtle shine adds a refined touch without overpowering the overall design. This step is perfect if you want your phone case to look both cute and sophisticated.
12. Add Fake Fruit Toppings
Include tiny fruit decorations like strawberries, cherries, or blueberries to make your design look more realistic and colorful. These elements create a strong resemblance to real desserts.
Position the fruits carefully so they balance the design instead of overcrowding it. Their bright colors add contrast against pastel frosting, making your phone case more eye-catching. This step enhances the “edible illusion” effect.
13. Create Chocolate Drizzle Effects
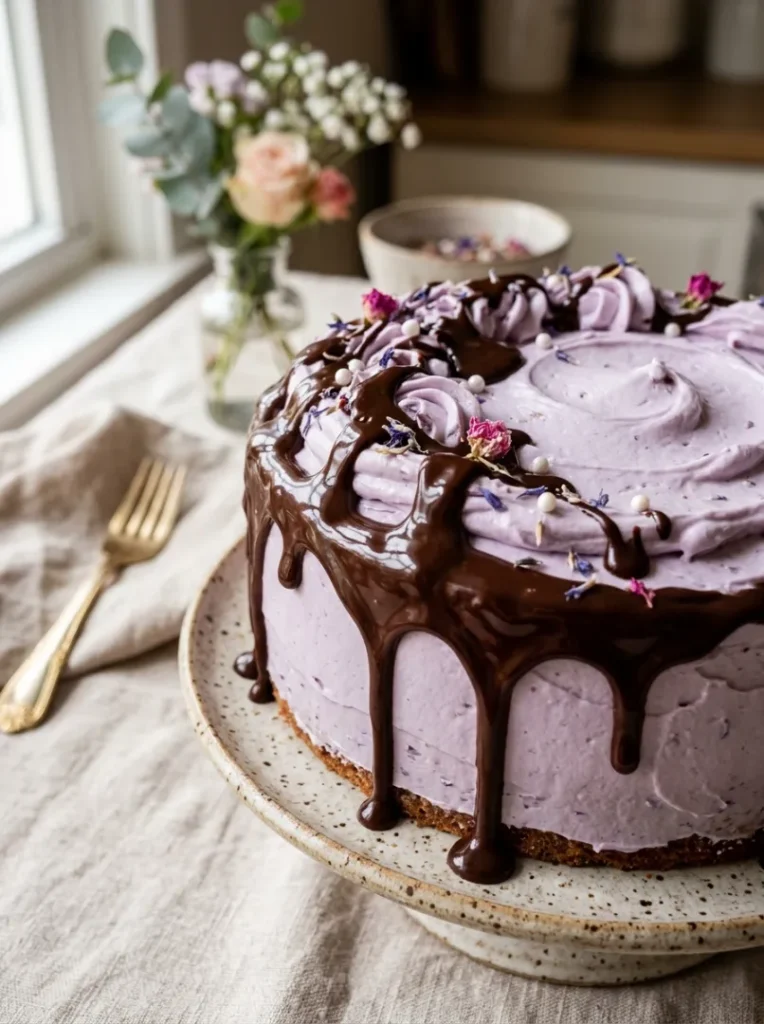
Use a brown-tinted cream mixture to imitate chocolate drizzle. Apply thin lines across the frosting in a natural flowing pattern, similar to how chocolate syrup is poured on desserts.
Keep the lines light and controlled so they don’t overpower the design. This detail adds richness and depth, making your fake cake look more realistic and appealing. It’s a great way to enhance contrast in your design.
14. Add Cute Text Details
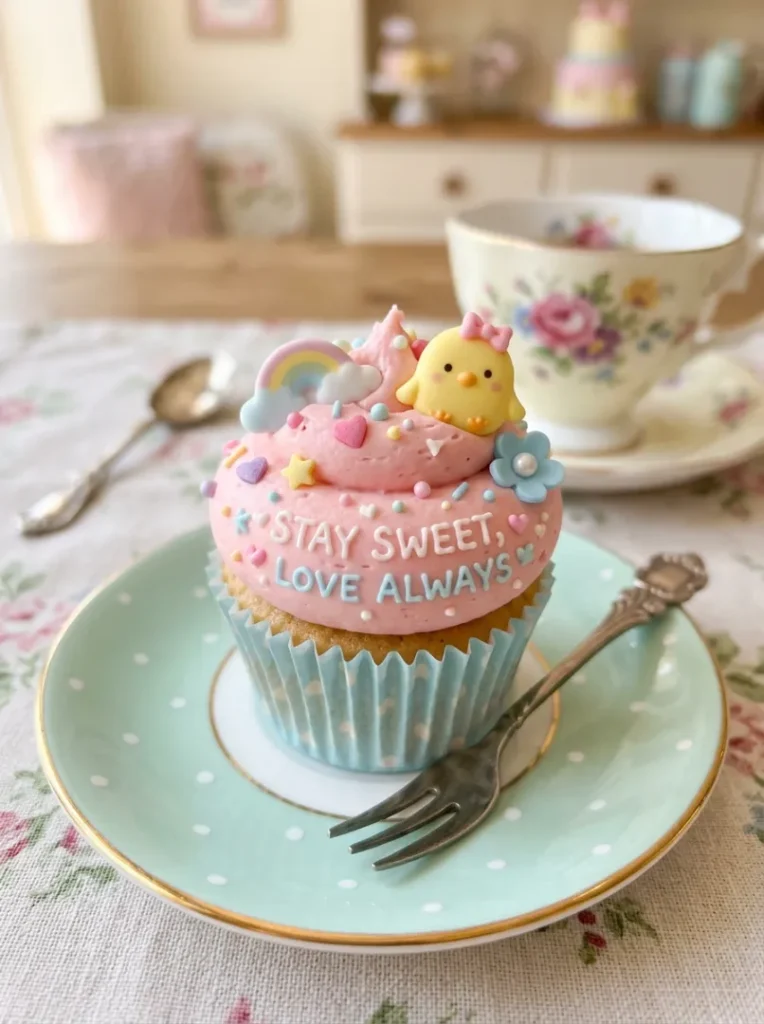
Using a fine piping nozzle, write small words like “sweet,” “love,” or short names onto the frosting. This adds a personalized and creative touch to your design.
Keep the text neat and minimal so it doesn’t look messy or overwhelming. Simple words placed carefully can make your phone case feel more unique and meaningful. This step adds character without complicating the design.
15. Layer with Cookie Charms
Add small cookie-shaped charms to give your phone case a cozy bakery-style vibe. Press them gently into the frosting so they stay secure.
These elements create variety in texture and make your design more interesting. Cookie charms help build a layered dessert look, making your fake cake design feel fuller and more complete.
16. Use Glitter for Sparkle
Add a gentle touch of fine glitter over the freshly piped frosting to give your design a soft, magical shine. This small detail enhances the visual appeal and makes the phone case look more eye-catching, especially under light. The sparkle blends beautifully with pastel tones and creamy textures, creating a dreamy, dessert-like finish.
Be careful not to overuse glitter, as too much can distract from the frosting details. A light sprinkle is enough to highlight key areas and add elegance. This step subtly elevates your design, giving it a polished and charming appearance without overwhelming the overall look.
17. Blend Multiple Themes

Combine different decorative elements like fruits, candy pieces, pearls, and sprinkles to create a mixed theme design. This allows you to experiment with creativity and build a unique composition that reflects your personal style and imagination.
While blending themes, keep balance in mind so the design does not feel overcrowded. Choose a central theme and support it with smaller accents for harmony. This step helps your phone case stand out by making it more dynamic, playful, and visually engaging without losing its overall aesthetic appeal.
18. Focus on Edges for Detail
Enhance the edges of your phone case by adding extra piping, beads, or small decorative elements. This creates a frame-like effect that makes the overall design look complete and more refined.
Edges are often the most noticeable part when holding a phone, so giving them attention improves the final appearance significantly. Clean and detailed edges make your fake cake design look more professional, helping tie all elements together into one cohesive and polished piece.
19. Add Tiny Candy Pieces
Decorate your design with small candy-like embellishments to bring a fun and playful vibe. These tiny pieces add color variety and help fill small gaps within the frosting.
Place them thoughtfully across the surface to maintain visual balance. Too many candies in one spot can look messy, so spacing them evenly works best. This step adds charm and makes your phone case look like a cheerful, sweet treat full of delightful details.
20. Refine Texture with Tools
Use small crafting tools like toothpicks or sculpting sticks to refine your frosting texture. Smooth uneven areas or reshape sections where needed to improve the overall look.
This step allows you to correct minor imperfections and enhance realism. Even small adjustments can make your design appear cleaner and more detailed. Taking time to refine textures ensures your fake cake phone case looks polished and carefully crafted.
21. Let It Dry Properly
Place your phone case in a safe, dry area and allow it to cure completely for at least 24 to 48 hours. This step is essential for ensuring that all decorative elements stay firmly in place.
Avoid touching or moving the case during the drying process, as this can damage the design. Proper drying strengthens the structure and ensures durability, making your creation long-lasting and ready for everyday use.
22. Seal for Longevity
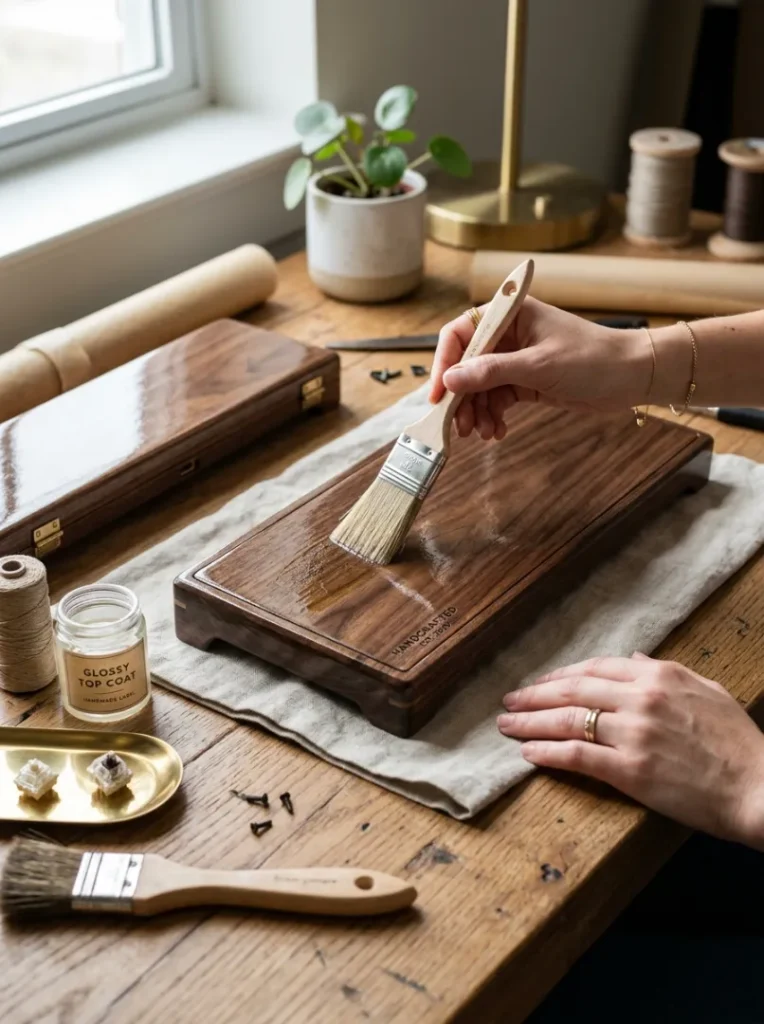
Apply a light protective sealant over the finished design if needed. This helps secure decorations and adds an extra layer of durability to your phone case.
A thin coat can also provide a subtle glossy finish, enhancing the overall look. Sealing ensures that your design remains intact over time, protecting it from dust, minor damage, and wear while maintaining its aesthetic appeal.
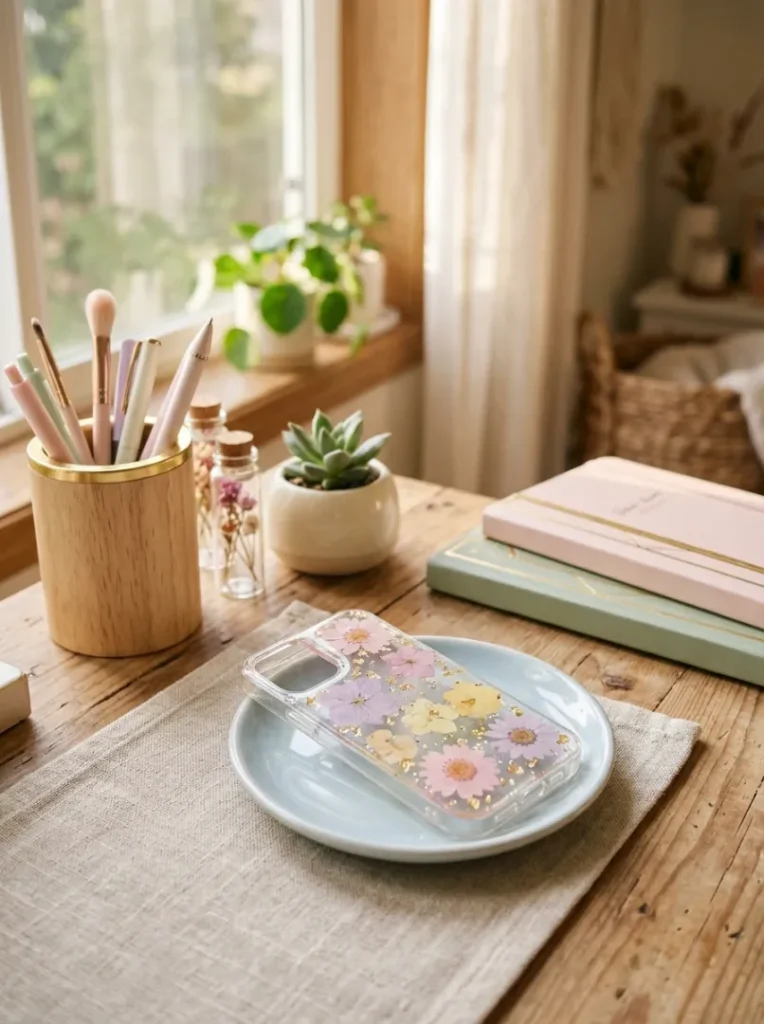
23. Show Off Your Sweet Creation
Once your phone case is fully dry and set, it’s ready to use or display proudly. You can also style it with a nice background and take photos to share on social media or with friends.
This final step celebrates your creativity and effort throughout the project. Your handmade fake cake phone case becomes a unique and personal accessory that reflects your style and imagination in a fun and delightful way.
Conclusion
Creating a fake cake phone case is more than just a craft—it’s a playful escape into a world of color, texture, and imagination.
From piping the perfect “frosting” to adding charming little details, every step lets you express your personal style in the sweetest way possible.
Whether you keep it for yourself or gift it to someone special, this delightful DIY project leaves you with a one-of-a-kind accessory that’s as fun to make as it is to show off”