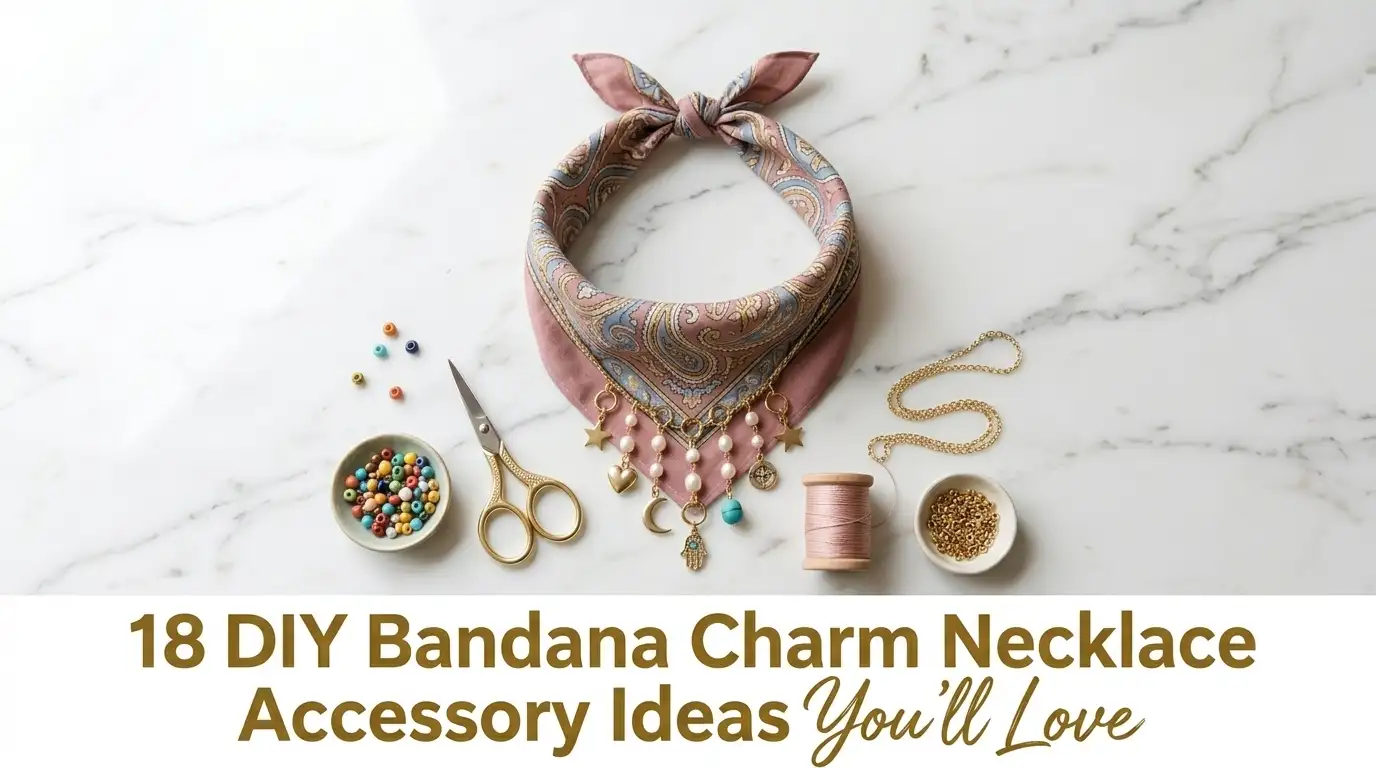
DIY Bandana Charm Necklace Accessory Ideas You’ll Love
If you love adding a personal touch to your style, this DIY jewelry project is about to become your new obsession.
A bandana necklace blends effortless fashion with handmade charm, giving you a unique accessory that feels both trendy and timeless. From soft fabrics to eye-catching details, this cute fashion DIY lets you experiment with colors, textures, and styling.
Whether you’re into boho vibes, minimal aesthetics, or bold statements, this guide will help you create stunning handmade accessories that elevate your everyday look.
1: Choose the Perfect Bandana Base
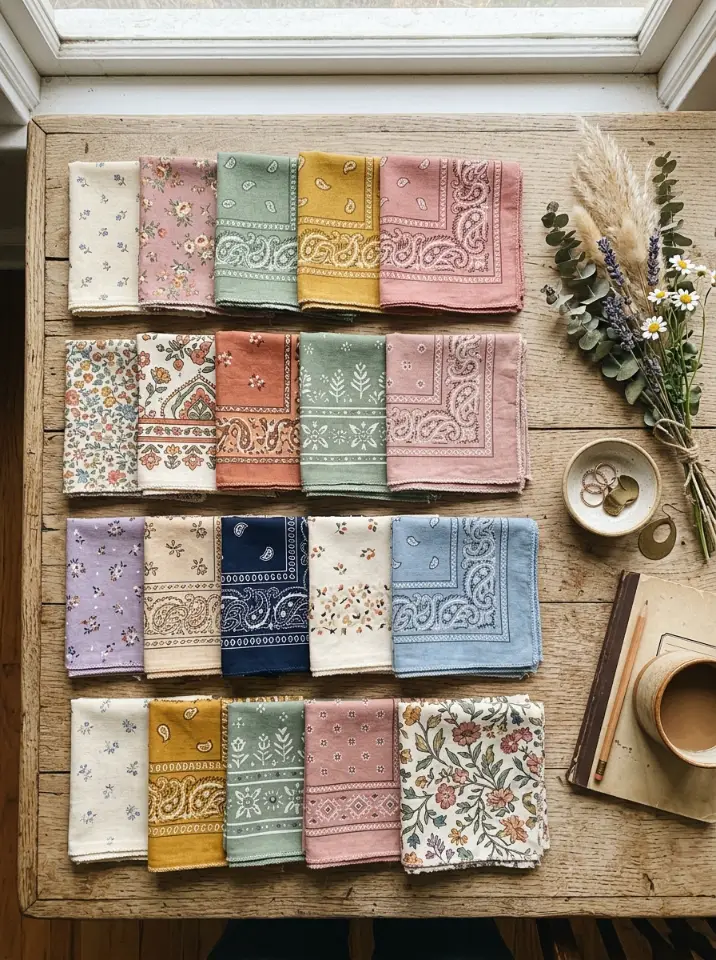
Start by selecting a bandana that reflects your personal style. Cotton bandanas work best because they are soft, breathable, and easy to manipulate.
Look for patterns like paisley, floral, or minimal prints depending on your vibe. Make sure the fabric is not too thick, as it needs to fold comfortably around your neck.
For a more stylish result, consider seasonal color palettes like soft pastels for spring or earthy tones for autumn.
Mixing patterns or layering two thin bandanas can also create a more dynamic and fashion-forward look. This simple choice sets the entire tone for your bandana necklace.
2: Cut or Fold for Desired Length
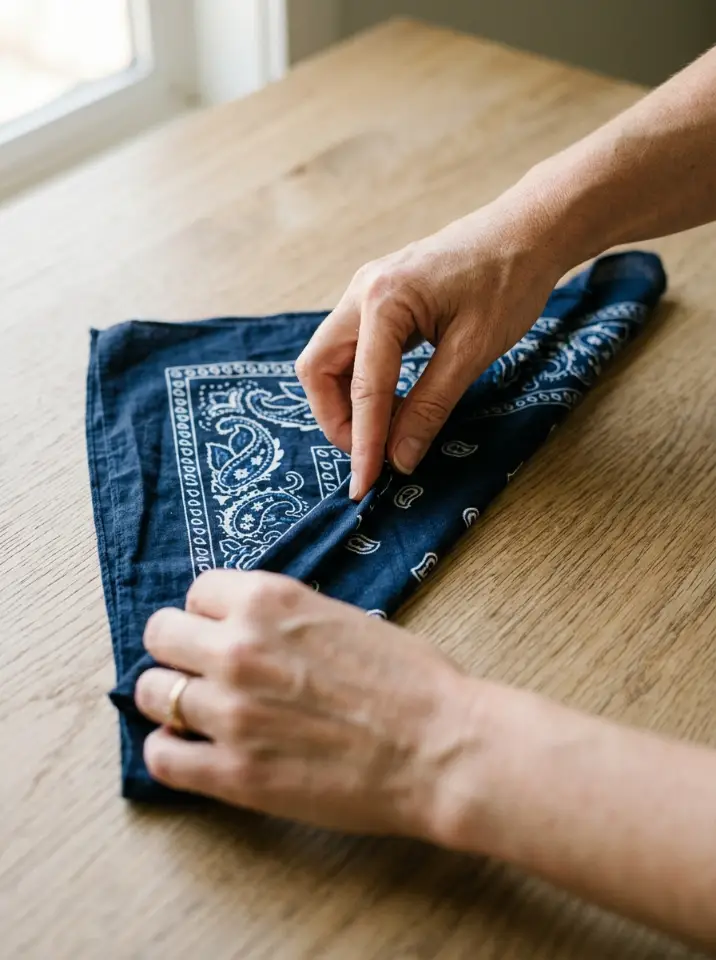
Decide whether you want a choker-style necklace or a longer layered look. Fold your bandana diagonally into a slim strip, adjusting the width to your liking. If necessary, trim excess fabric neatly to maintain a clean finish.
A thinner strip creates a delicate and refined appearance, while a wider fold gives a bold statement look. Experiment with different widths to match your outfit style.
Precision in this step ensures your necklace looks polished rather than bulky.
3: Iron for a Crisp Finish
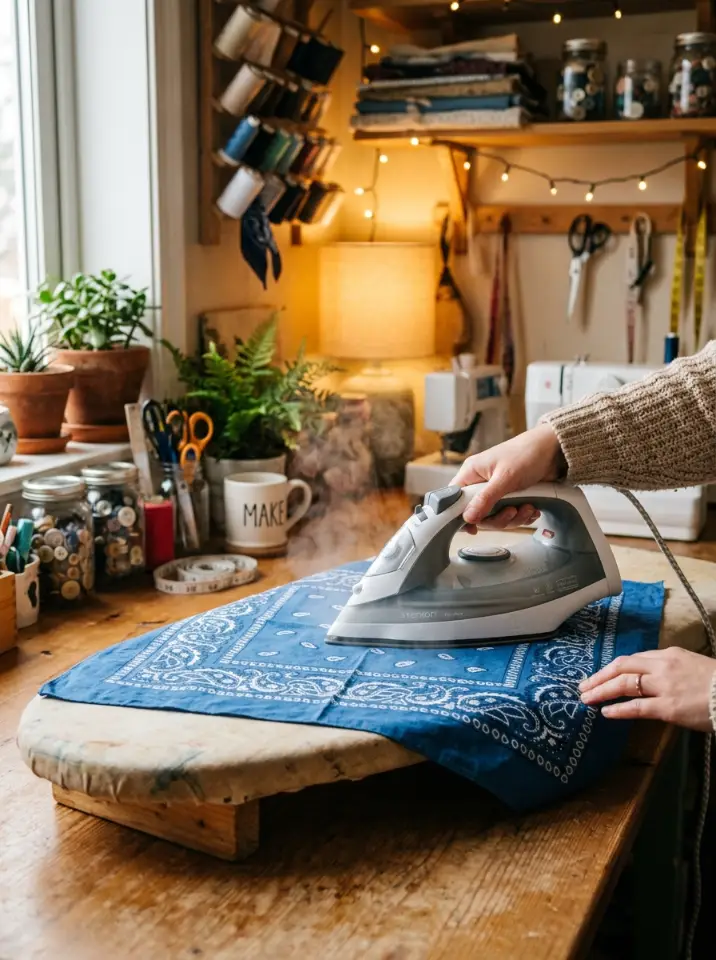
Ironing your folded bandana helps maintain structure and gives a professional finish. Smooth out any wrinkles so the fabric sits neatly when worn. This step may seem small, but it significantly improves the final look.
For added detail, lightly starch the fabric to keep it firm throughout the day. A crisp bandana enhances the overall aesthetic and ensures your handmade accessory looks high-quality and intentional.
4: Add a Center Focal Point
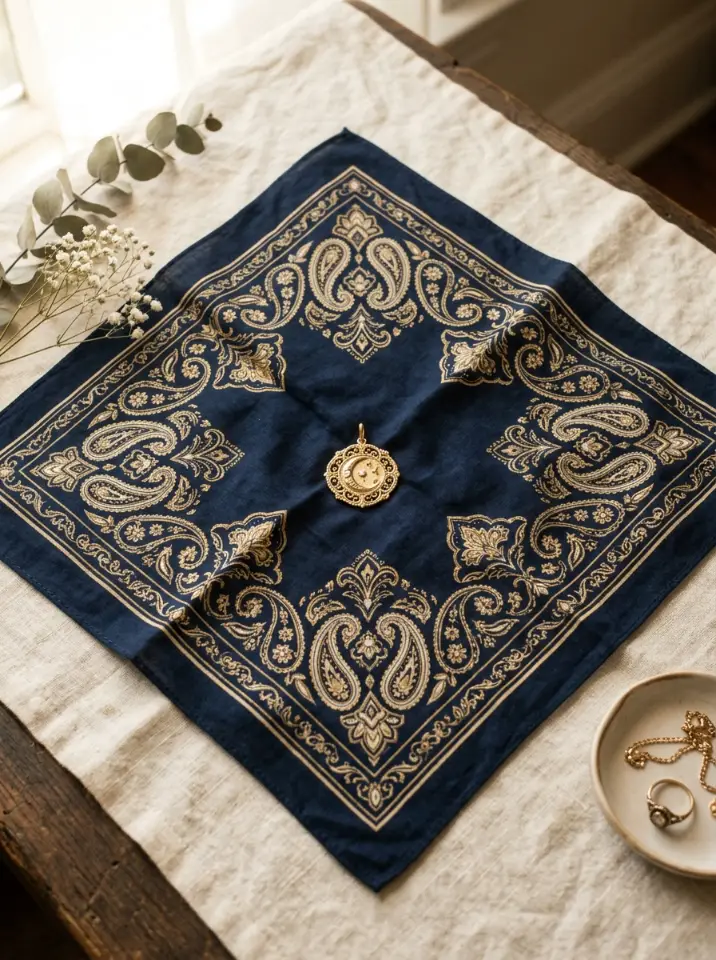
Choose a charm, pendant, or decorative piece to act as the centerpiece. This could be a small locket, gemstone, or even a vintage button. Position it in the middle of the bandana strip.
Your focal point defines the necklace’s personality. Opt for metallic charms for a chic vibe or colorful beads for a playful touch. This is where your DIY jewelry starts transforming into a statement piece.
5: Secure the Charm in Place
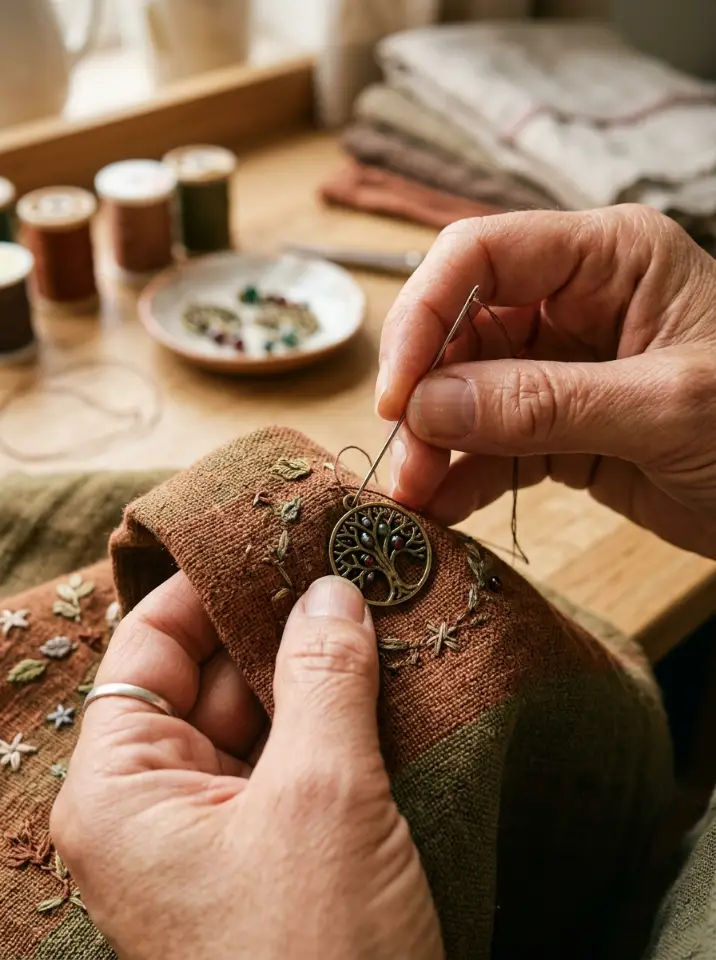
Use a needle and thread or small jewelry rings to attach the charm securely. Make sure it is centered and balanced so it hangs evenly when worn.
If sewing feels too complex, fabric glue or clip-on charms can work as alternatives. Choose a method that suits your comfort level while ensuring durability and style.
6: Add Beads for Texture
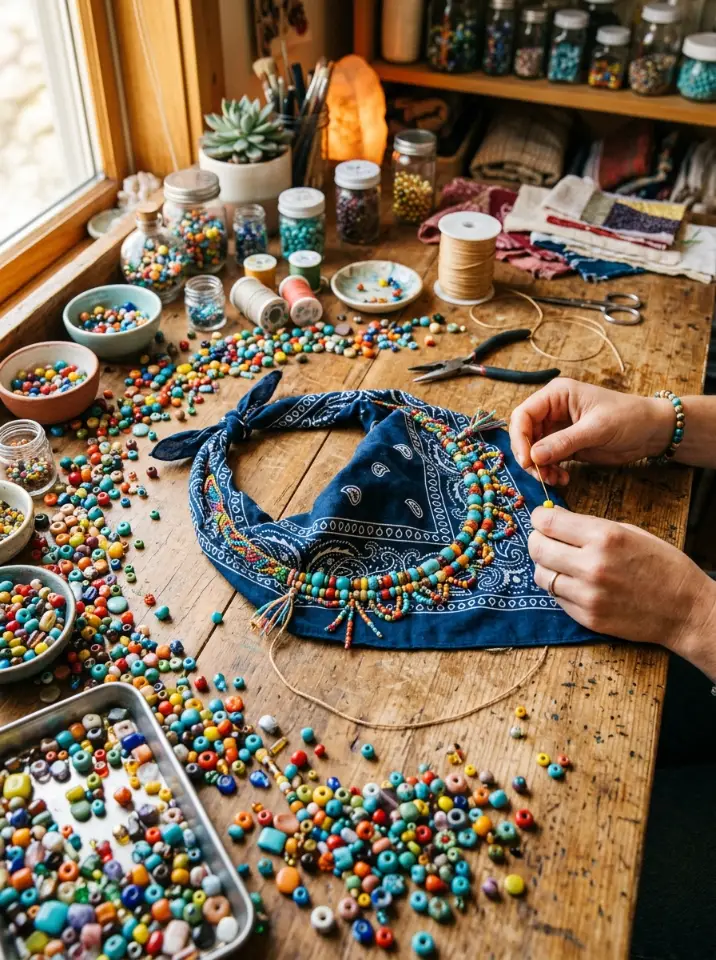
Thread small beads onto the fabric or attach them along the sides. This adds texture and visual interest, making your necklace more dynamic.
Mix different bead sizes and colors for a layered, artistic look. Subtle beads create elegance, while bold ones bring a playful energy to your handmade accessory.
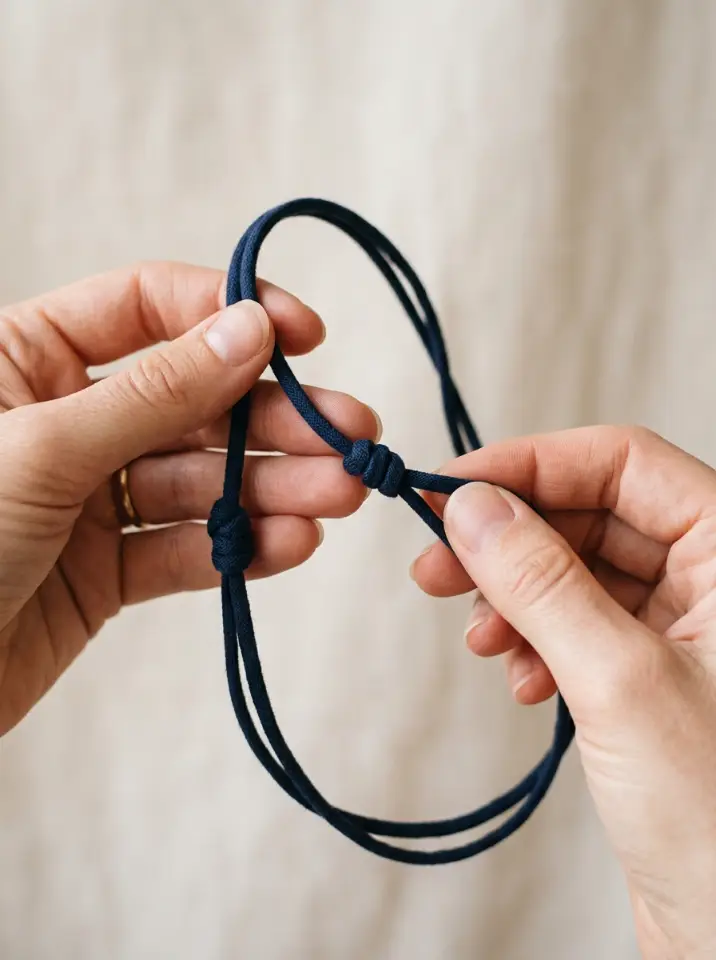
7: Create Knots for Detail
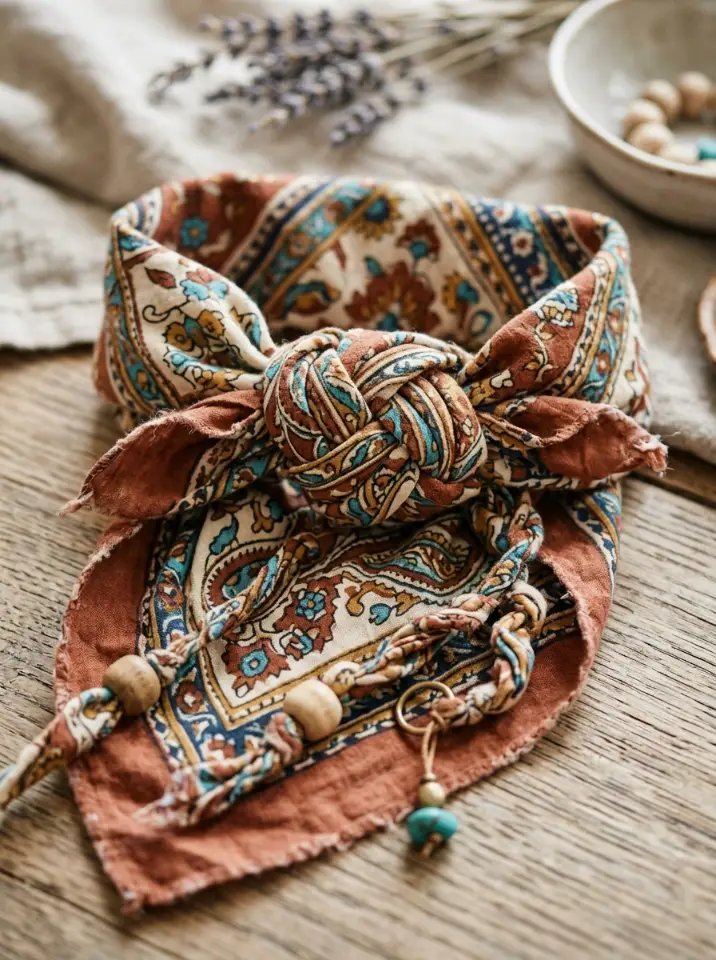
Tie small knots along the bandana strip to add dimension. Space them evenly for a clean and structured appearance.
Knots can also help secure beads or charms in place. This technique adds a handcrafted feel that enhances the DIY charm of your necklace.
8: Incorporate Chains

Attach thin chains alongside the fabric for a mixed-material look. This instantly elevates your design and adds a touch of sophistication.
Gold or silver chains work beautifully depending on your style. This fusion of textile and metal creates a trendy, Pinterest-worthy accessory.
9: Add Fabric Layers
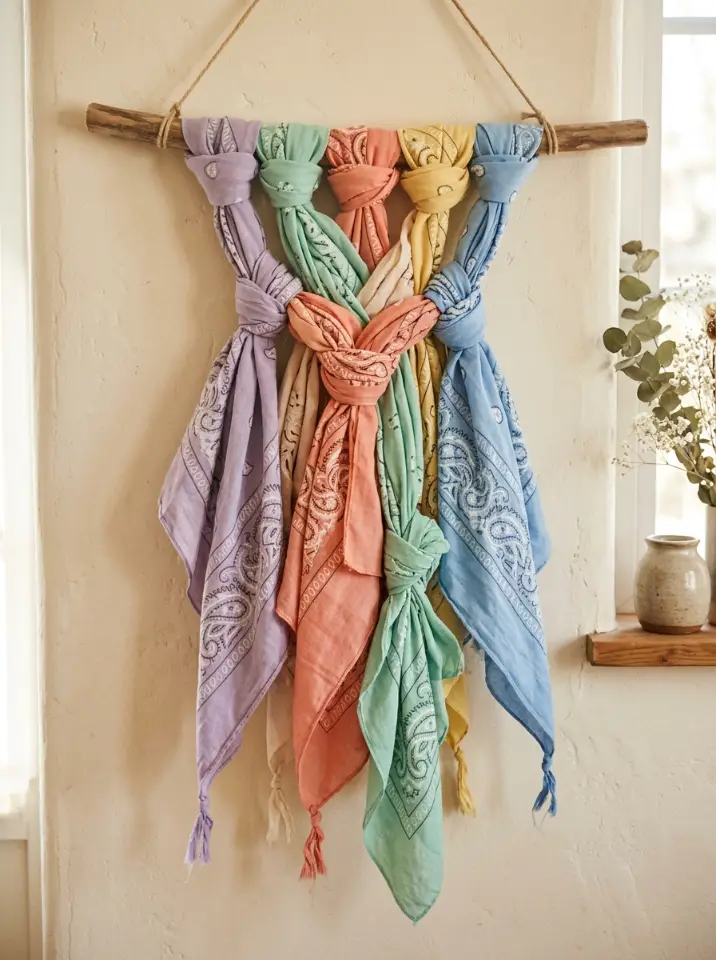
Layer multiple bandanas for a fuller and more textured necklace. Choose complementary colors to maintain harmony.
This technique works well for bold fashion statements. It gives your DIY jewelry a rich, layered appearance that stands out effortlessly.
10: Use Safety Pins Creatively
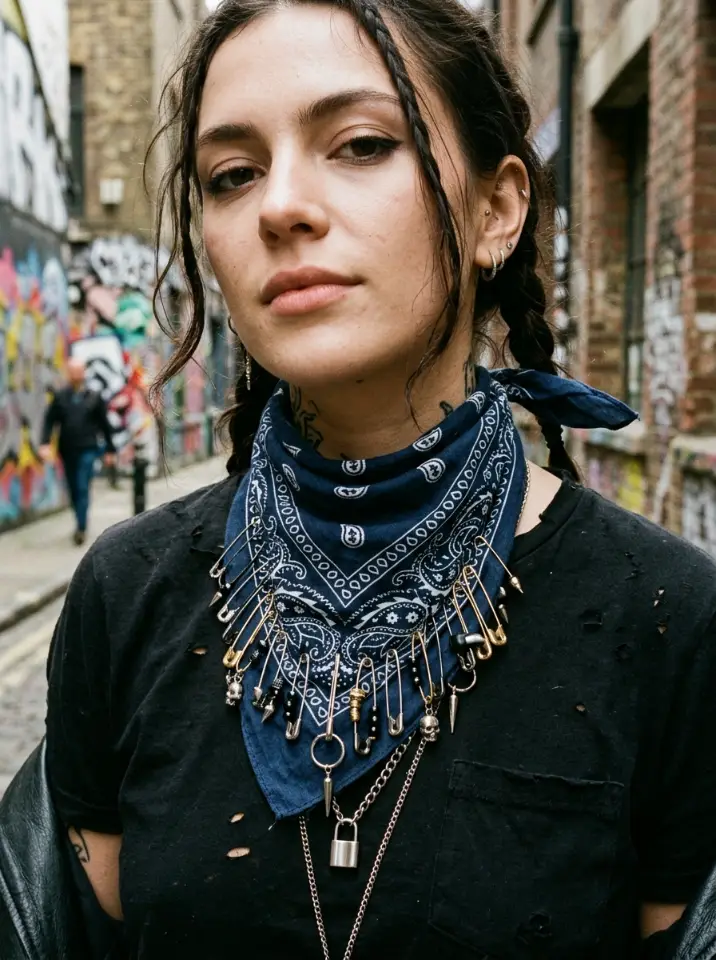
Attach decorative safety pins along the bandana for an edgy touch. Position them symmetrically or randomly for a unique look.
This detail adds a modern, slightly rebellious vibe. It’s perfect for street-style outfits or bold fashion lovers.
11: Attach Tassels
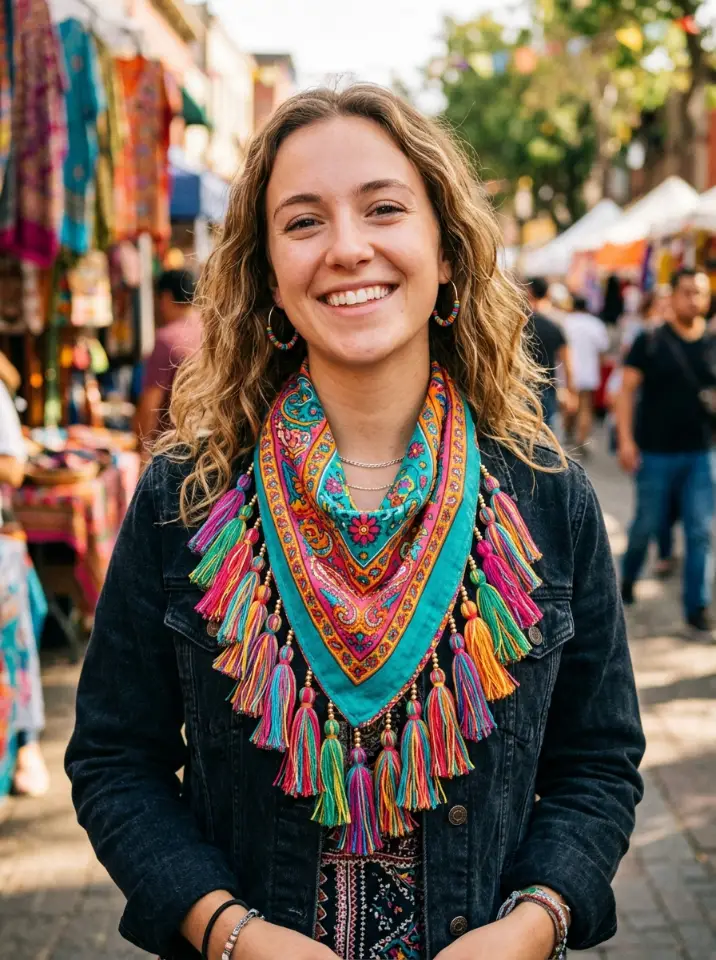
Add tassels near the ends or around the centerpiece. They bring movement and a playful energy to your design.
Choose neutral tassels for elegance or bright ones for a fun twist. This small addition makes your necklace more eye-catching.
12: Add Charms Along the Length
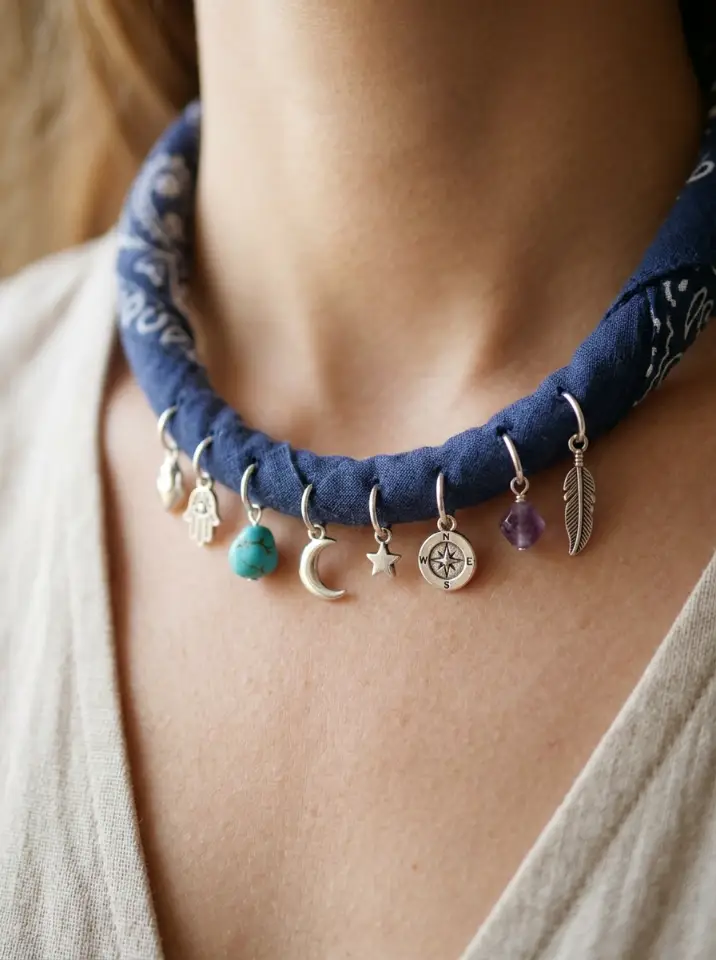
Instead of one focal charm, add several smaller charms along the bandana. This creates a layered jewelry effect.
Mix different shapes like stars, hearts, or geometric pieces. This approach gives your necklace a whimsical and curated look.
13: Create Adjustable Ends
Tie adjustable knots at the ends so you can change the length easily. This makes your accessory more versatile.
Adjustable designs allow you to wear the necklace as a choker or a longer piece, depending on your outfit.
14: Add Lace or Ribbon Accents

Incorporate lace or ribbon for a softer, feminine touch. Attach it along the edges or weave it through the fabric.
This detail creates a romantic and vintage-inspired look. Perfect for pairing with flowy dresses or soft aesthetics.
15: Experiment with Dye or Paint
Customize your bandana using fabric dye or paint. Add patterns, gradients, or small artistic details.
This step makes your necklace truly one-of-a-kind. It’s ideal for expressing creativity and personal style.
16: Add Metallic Accents
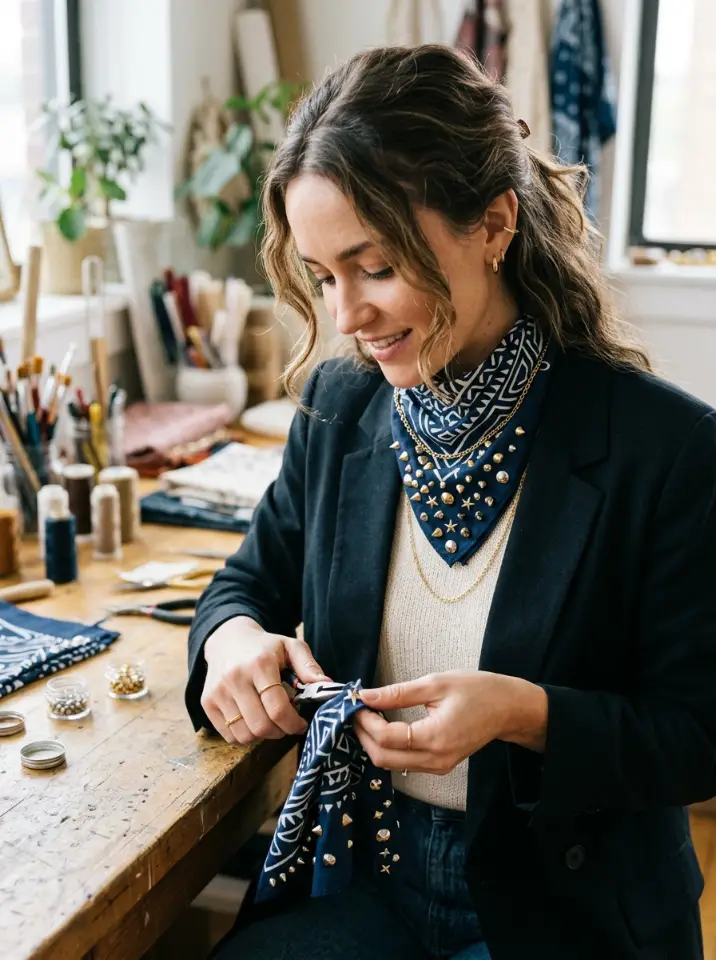
Attach small metallic studs or accents for a bold, modern look. Space them evenly for a balanced design.
These details give your DIY jewelry a high-fashion edge. Perfect for elevating simple outfits instantly.
17: Finish with Secure Closures
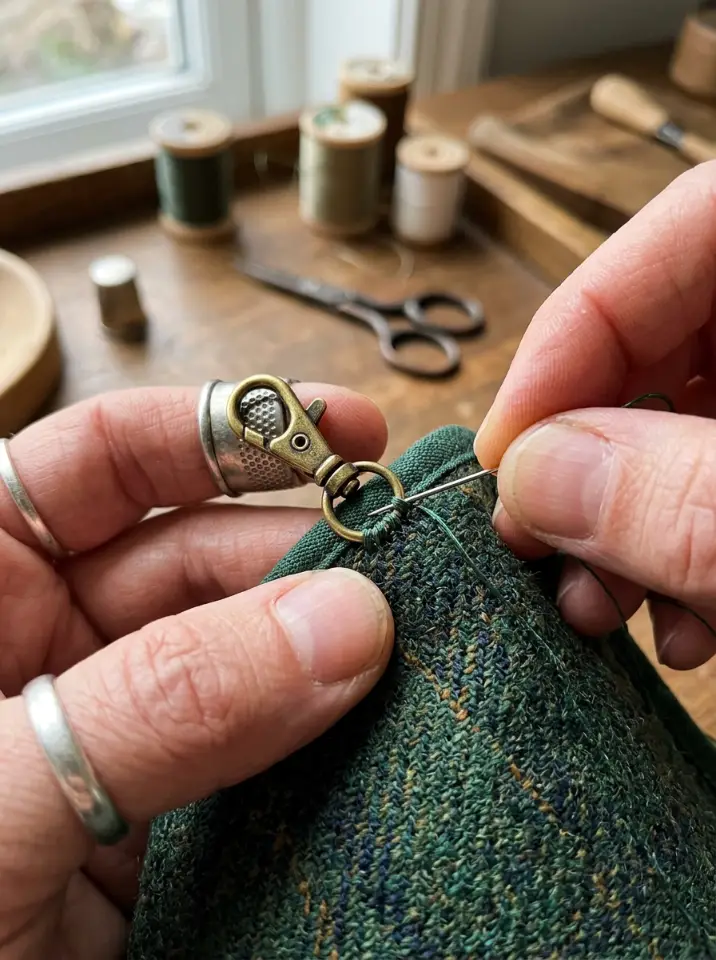
Attach a clasp or secure knot to finish your necklace. Ensure it’s comfortable and easy to wear.
A strong closure ensures durability and convenience. It also adds a professional touch to your handmade accessory.
18: Style and Wear Your Creation
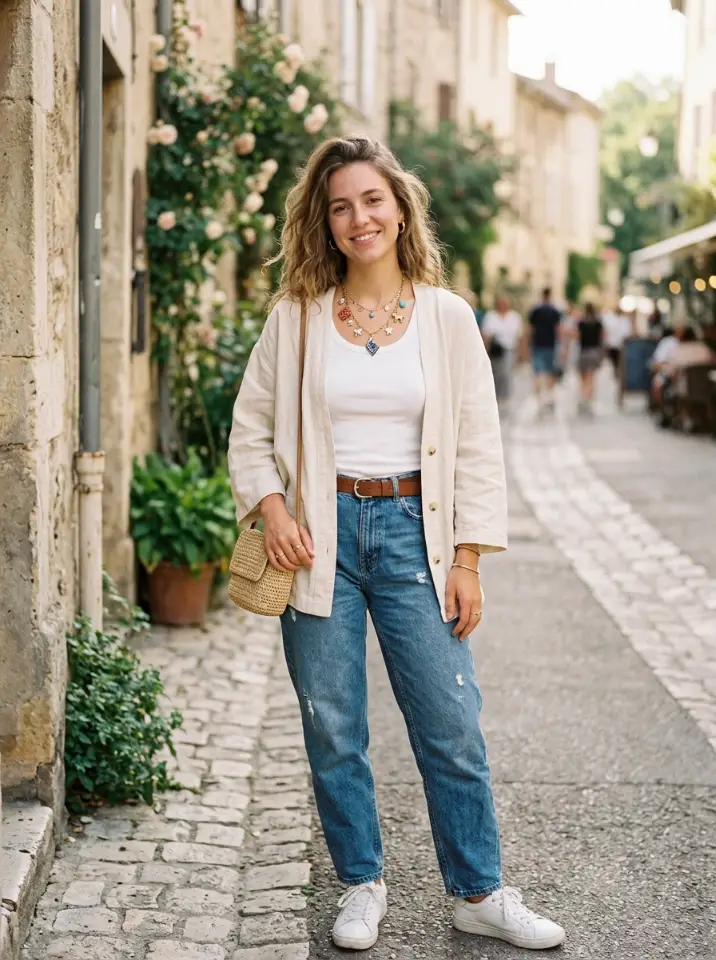
Try your necklace with different outfits to see how it transforms your look. Pair it with simple tops to let it stand out.
Layer it with other necklaces or wear it solo for a statement. Styling is where your creativity truly shines.
Conclusion
Creating your own bandana necklace is more than just a DIY project, it’s a way to express your personal style through handmade accessories.
From choosing fabrics to adding unique embellishments, every step allows you to craft something truly special. This DIY jewelry idea is both fun and fashionable, making it perfect for beginners and creative enthusiasts alike.
Try different variations, experiment with textures, and make it your own. Save this pin, try this DIY, and share your creation to inspire others with your unique style.