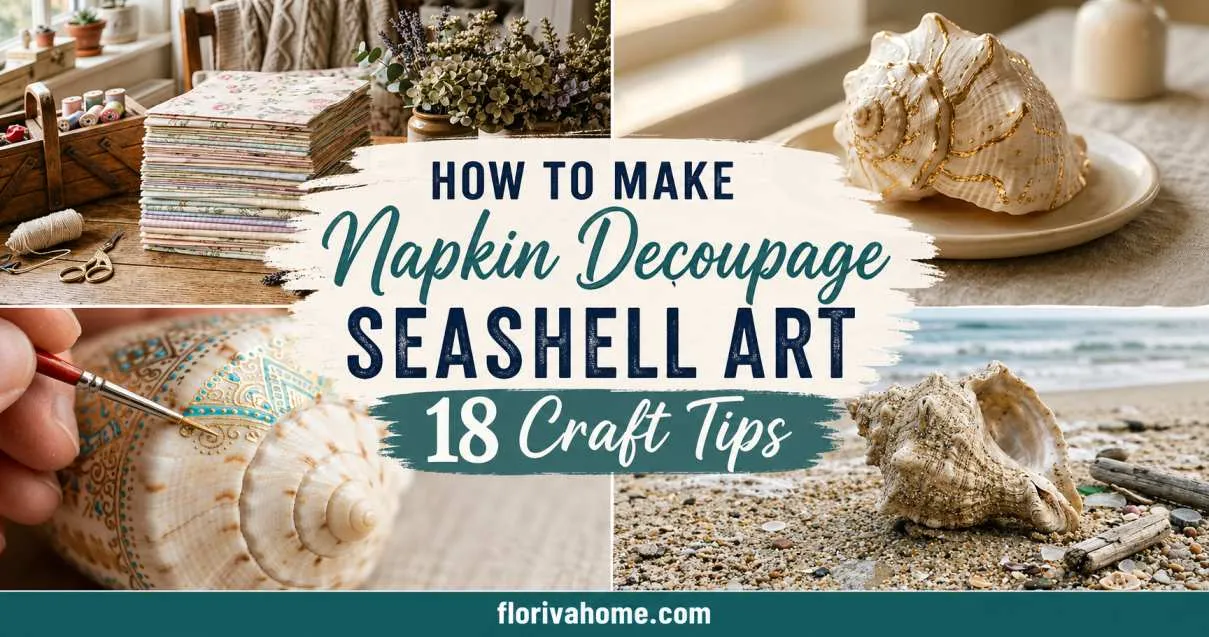
How to Make Napkin Decoupage Seashell Art
Bring the calming essence of the coast into your home with DIY seashell art that feels both elegant and effortless. Napkin decoupage is a beautiful way to transform ordinary shells into delicate, ocean-inspired decor using soft patterns, subtle textures, and creative layering.
Whether you’re drawn to vintage florals or breezy coastal tones, these decoupage crafts offer endless possibilities.
Perfect for beginners and seasoned makers alike, this relaxing project combines napkin art ideas with a touch of seaside charm, creating pieces that feel personal, artistic, and Pinterest-worthy.
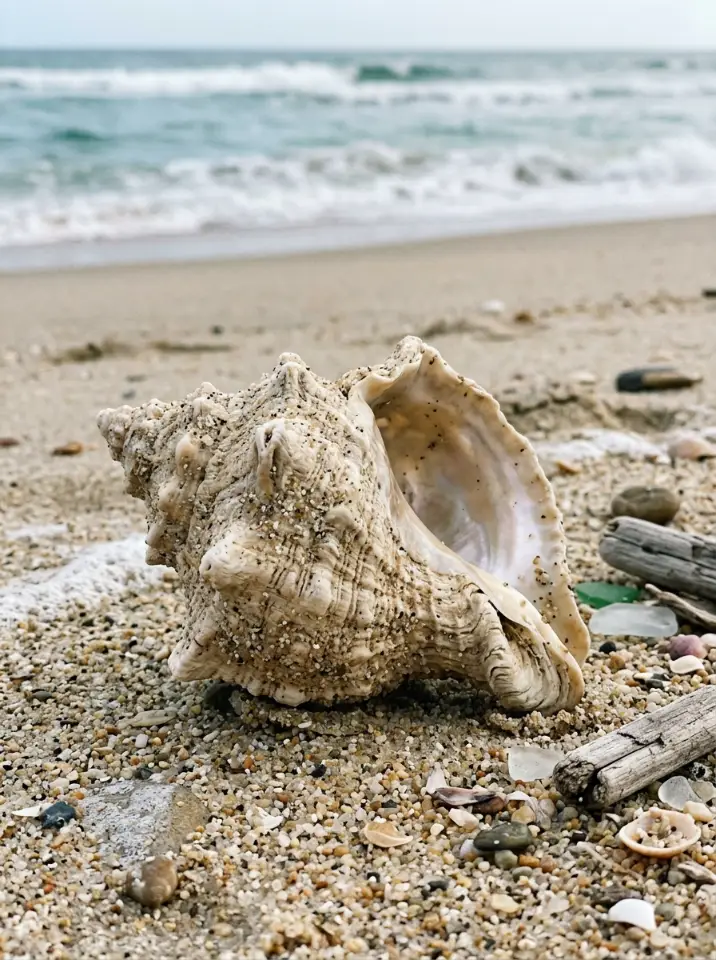
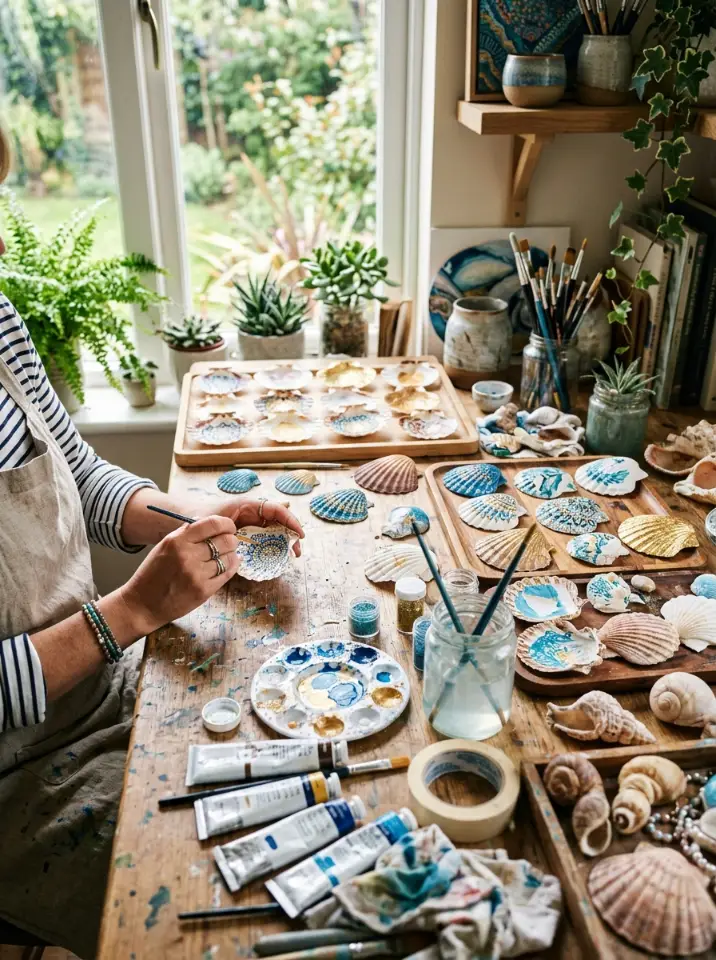
Choose Smooth, Clean Shells
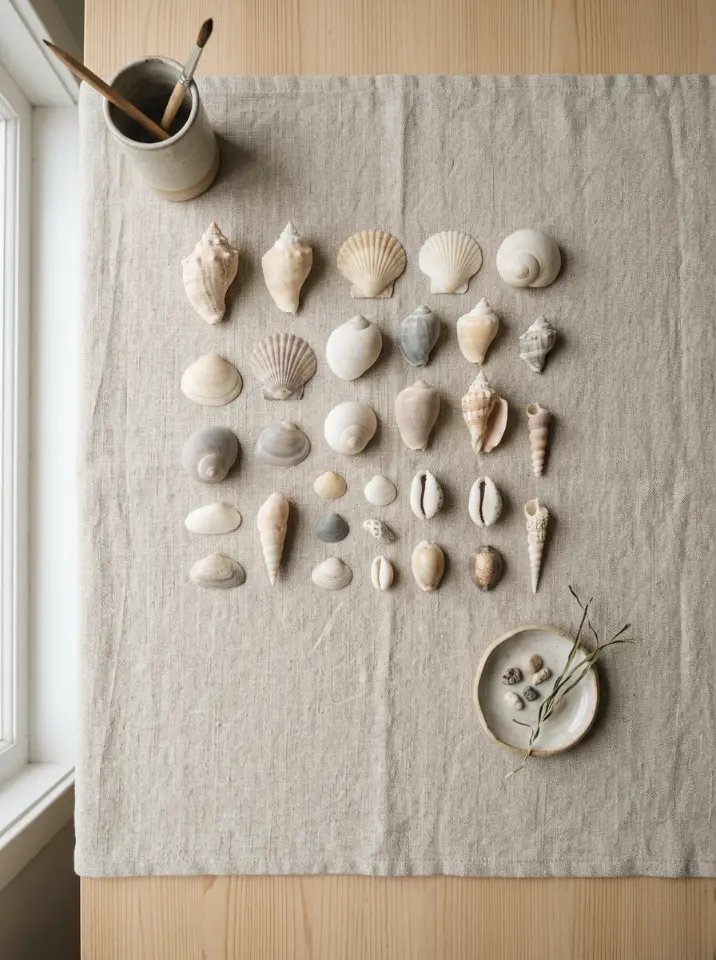
Selecting the right shells is the foundation of beautiful DIY seashell art. Look for smooth, unbroken surfaces that allow napkin patterns to adhere evenly. Lighter shells often enhance delicate designs, while larger shells provide more space for intricate motifs.
Before starting, gently wash and dry your shells to remove sand or residue. A clean surface ensures better adhesion and a polished finish. If needed, lightly sand rough areas to create a smoother base for your decoupage crafts.
Pick Thin, Decorative Napkins
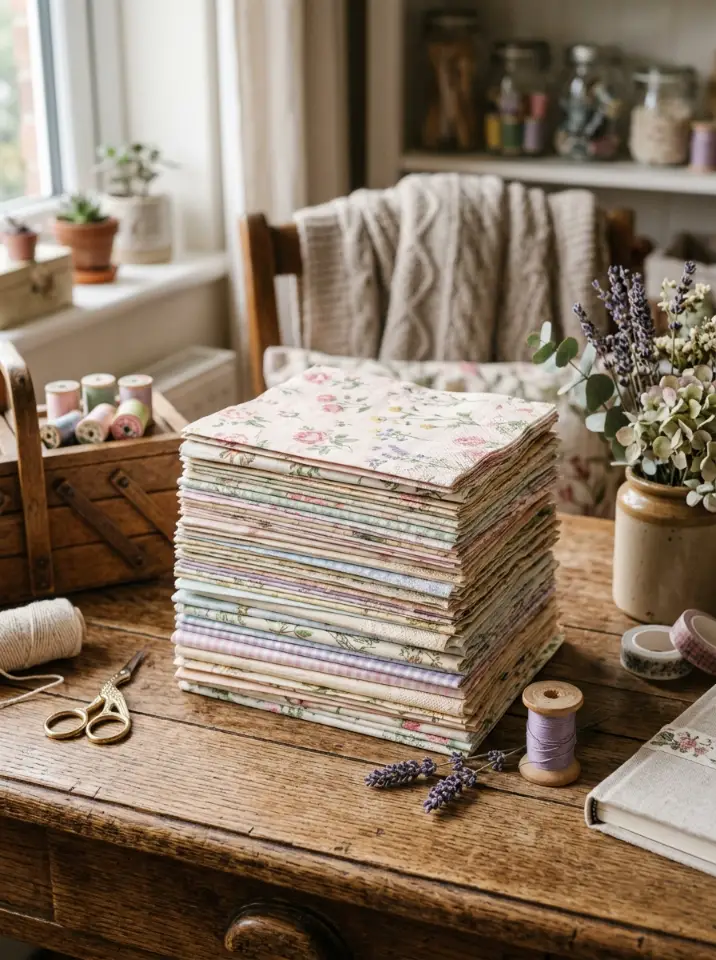
Napkins with fine, layered textures work best for decoupage. Choose designs with soft florals, ocean themes, or vintage prints to complement the natural beauty of the shell. Thin layers allow the design to blend seamlessly.
Separate the top printed layer from the napkin before applying. This prevents bulkiness and ensures a smooth, painted-on effect. Experiment with different patterns to match your aesthetic, from boho to coastal chic.
Cut or Tear Designs Carefully
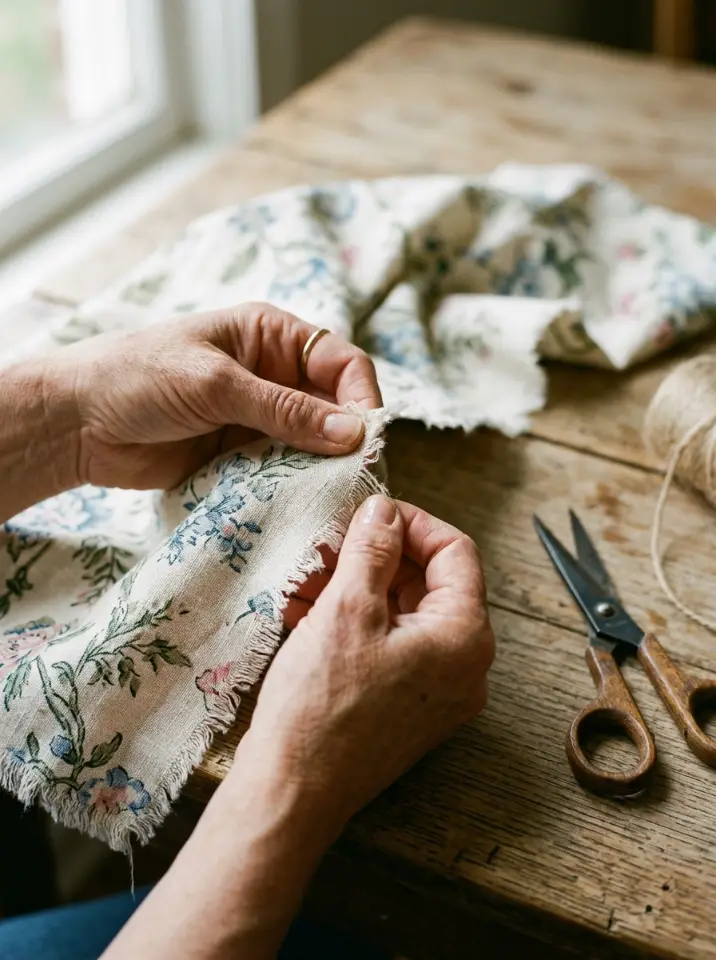
Instead of cutting precise shapes, try gently tearing around your design. This creates soft, feathered edges that blend naturally into the shell surface. The result looks more organic and artistic.
If you prefer clean lines, small scissors work well for detailed patterns. Mix both techniques to add visual variety and depth to your napkin art ideas.
Use a Light Base Coat
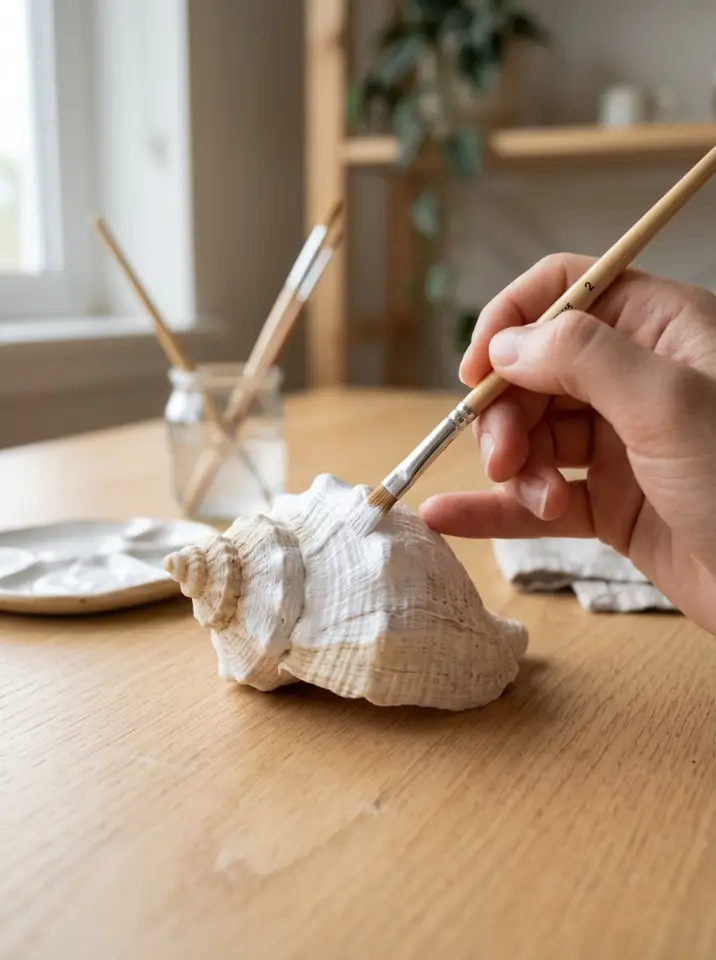
Applying a thin coat of white or pastel paint can help your napkin design stand out more vividly. This step is especially useful for darker shells that might dull lighter prints.
Let the paint dry completely before moving to decoupage. Acrylic paints work best and provide a smooth, matte base that enhances the final look.
Apply Glue Evenly
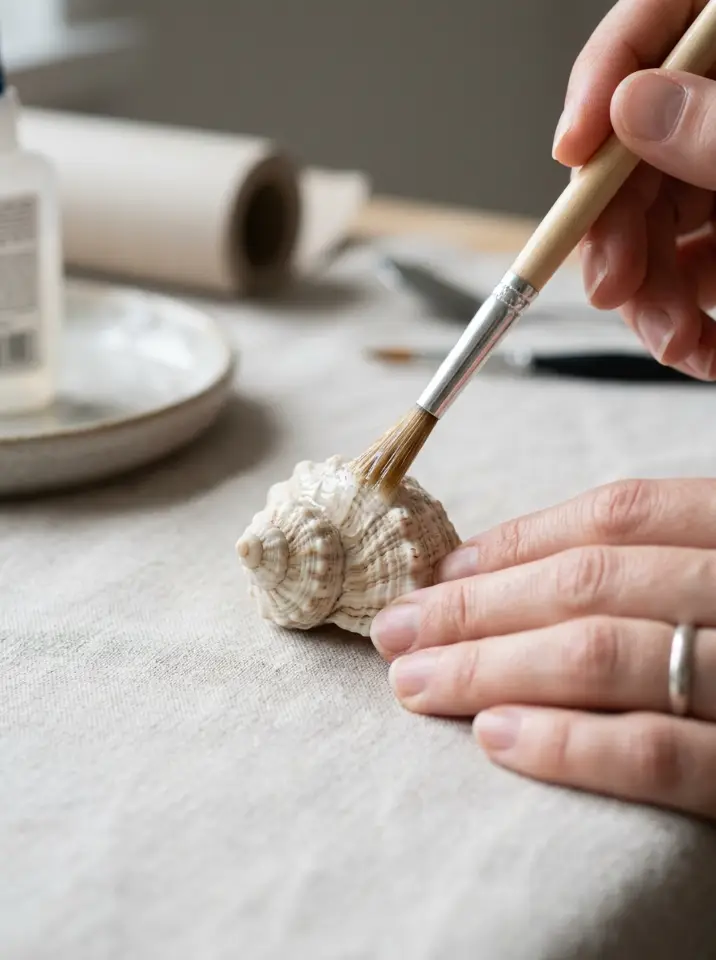
Use a soft brush to apply decoupage glue in thin, even layers. Too much glue can wrinkle the napkin, while too little may cause lifting. Balance is key for a flawless finish.
Work in small sections to maintain control. Smooth strokes help the napkin settle naturally onto the shell’s curves without tearing.
Smooth Out Wrinkles Gently
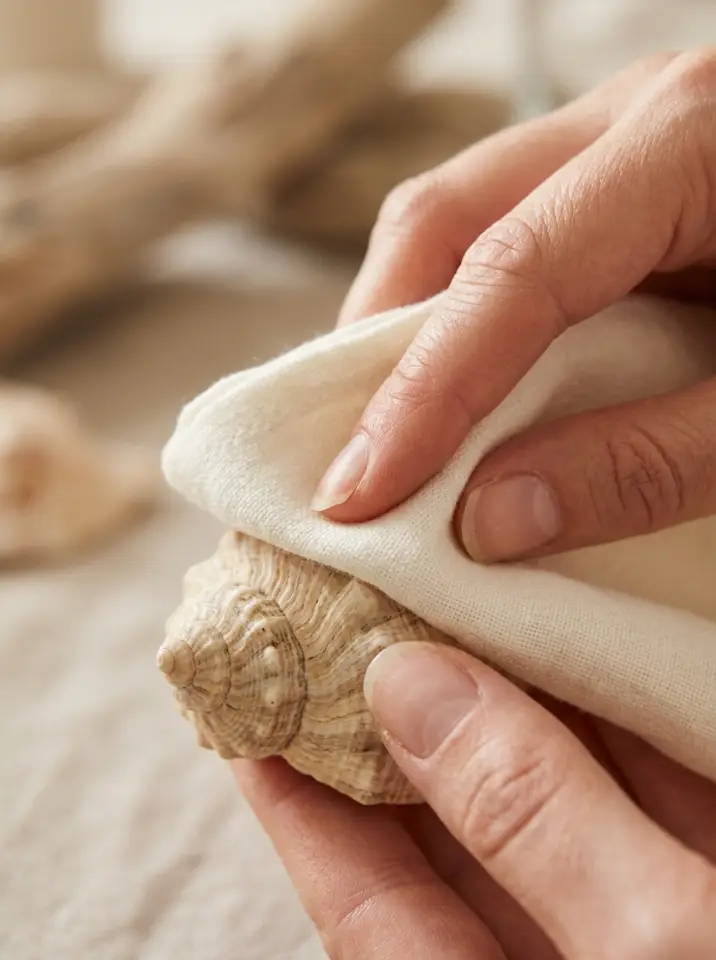
Once placed, gently smooth the napkin with your fingers or a soft brush. Start from the center and move outward to avoid air bubbles and creases.
If wrinkles appear, don’t worry—slight texture can add charm. However, patience and a light touch will give you the most refined result.
Seal with a Top Coat
A protective top coat seals your design and adds durability. Choose matte for a soft look or glossy for a polished, glass-like finish.
Apply multiple thin layers rather than one thick coat. This prevents streaks and enhances the longevity of your DIY seashell art.
Layer Multiple Designs
Layering different napkin pieces creates depth and visual interest. Combine small motifs with larger ones to build a unique composition.
Allow each layer to dry before adding another. This prevents tearing and helps maintain clarity between design elements.
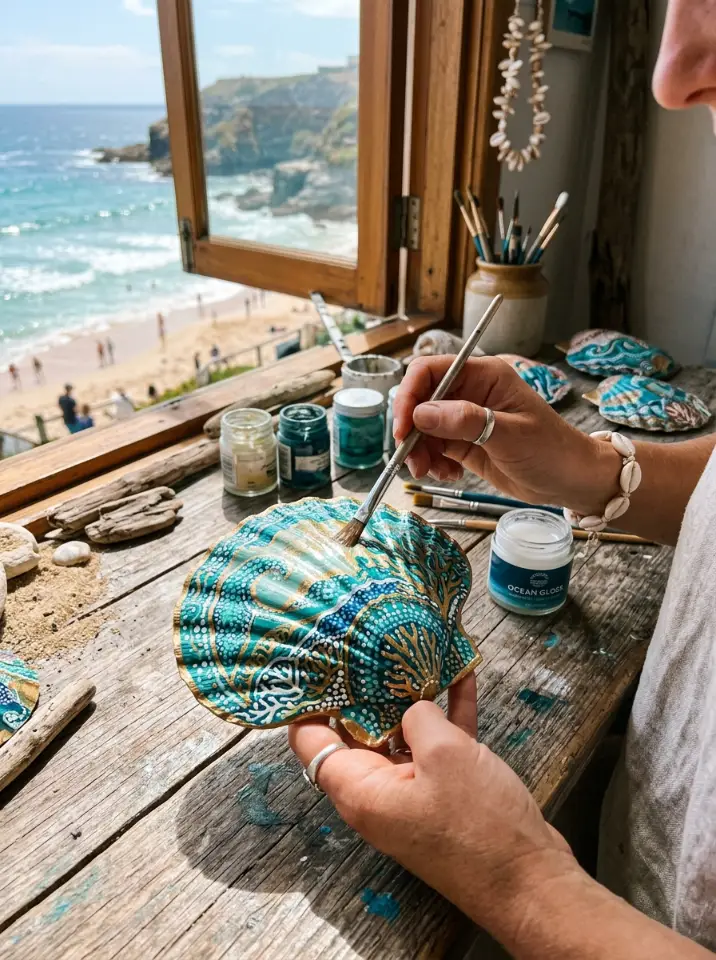
Add Metallic Accents
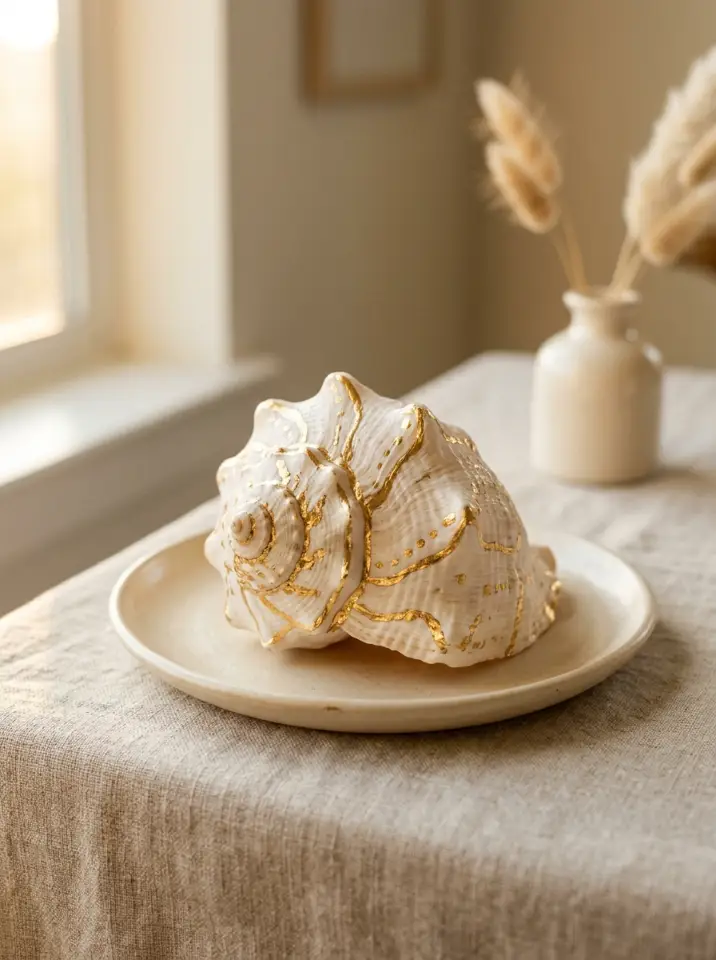
A touch of gold or silver can elevate your decoupage crafts instantly. Use metallic paint or foil to highlight edges or details.
Keep accents subtle to maintain balance. A little shimmer goes a long way in creating a sophisticated finish.
Experiment with Background Colors
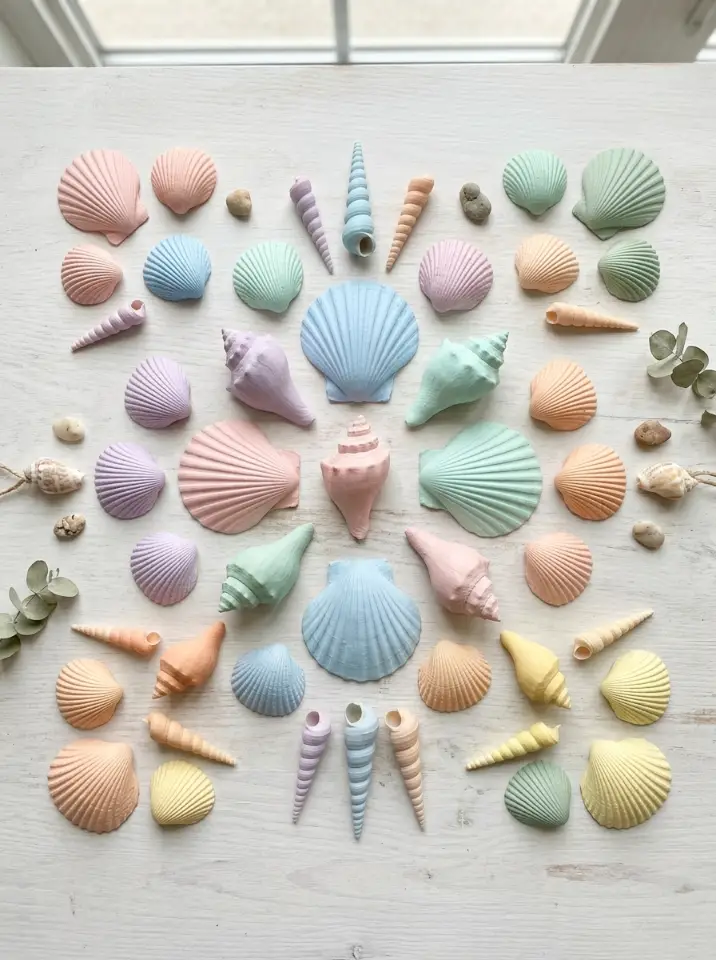
Don’t limit yourself to white bases—try soft blues, blush pinks, or sandy tones for variety. These colors can enhance different napkin styles.
Match your background to your decor theme for cohesive styling. Coastal palettes work especially well for a breezy look.
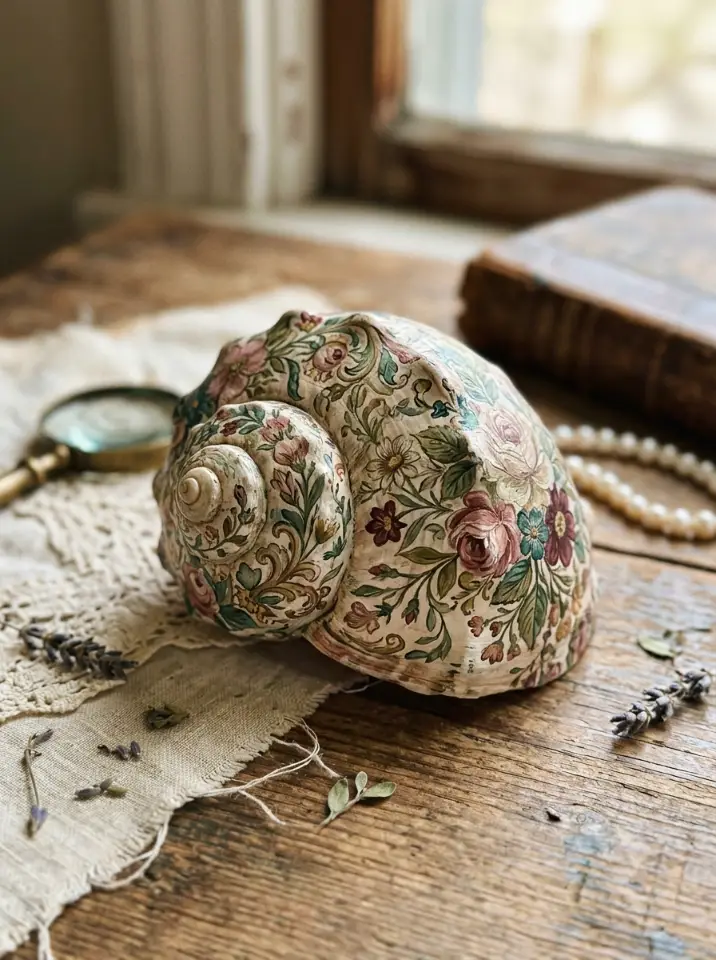
Create Themed Sets
Design multiple shells with a unified theme, such as ocean motifs or vintage florals. Grouping them together creates a cohesive display.
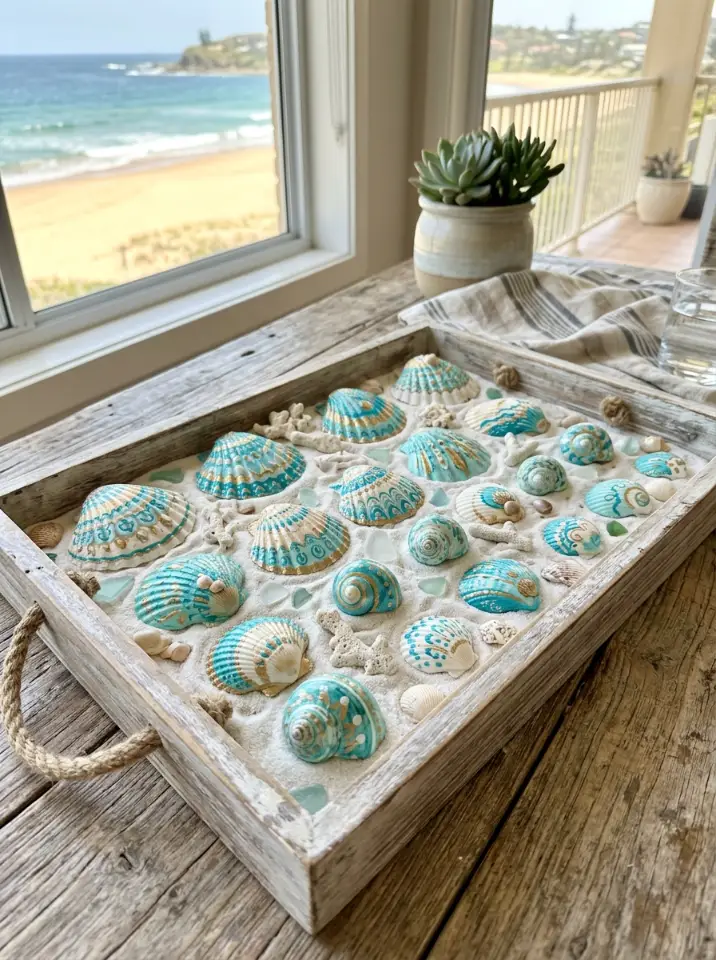
These sets are perfect for gifting or decorating trays, shelves, or coffee tables with a curated aesthetic.
Use Small Brushes for Detail

Fine brushes help with precise glue application and detail work. They’re especially useful for small shells or intricate patterns.
Investing in quality brushes improves control and results, making your napkin art ideas look more refined.
Try Transparent Effects
Some napkins create a translucent effect when applied, allowing the shell’s texture to show through. This adds a natural, delicate look.
Choose lighter designs and minimal glue for this technique. It’s perfect for achieving a subtle, beachy vibe.
Add Texture with Sand
Incorporate fine sand into your design for added texture. Apply it lightly around edges or as a base layer.
Seal thoroughly to keep the sand in place. This technique enhances the tactile quality of your DIY seashell art.
Incorporate Personal Touches
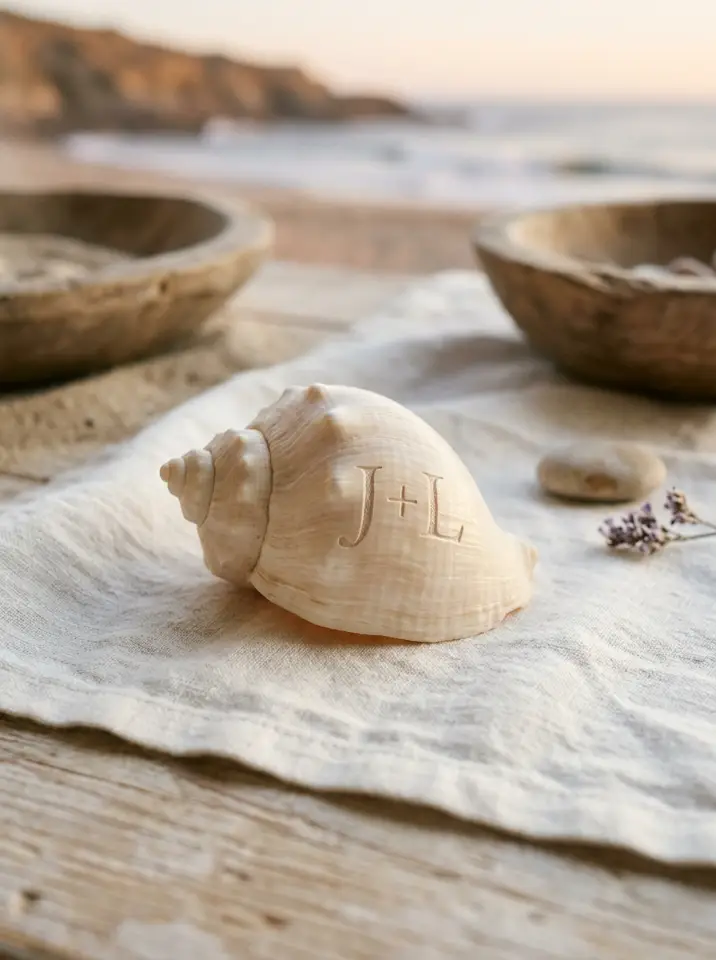
Add initials, dates, or small symbols to make your creations meaningful. Personal touches turn simple crafts into keepsakes.
Use fine-tip pens or paint for precision. These details are perfect for gifts or memory pieces.
Display Creatively
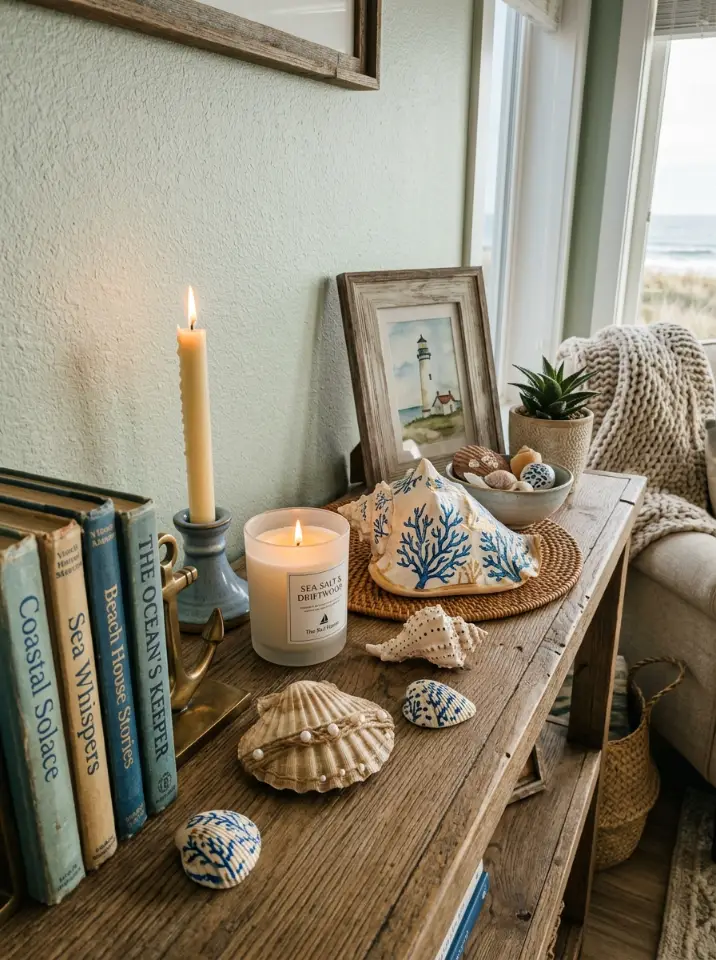
Presentation matters just as much as creation. Arrange your shells in bowls, trays, or shadow boxes for a polished look.
Mix textures like wood, glass, and linen to enhance the coastal aesthetic. Styling adds life to your finished pieces.
Mix with Other Materials
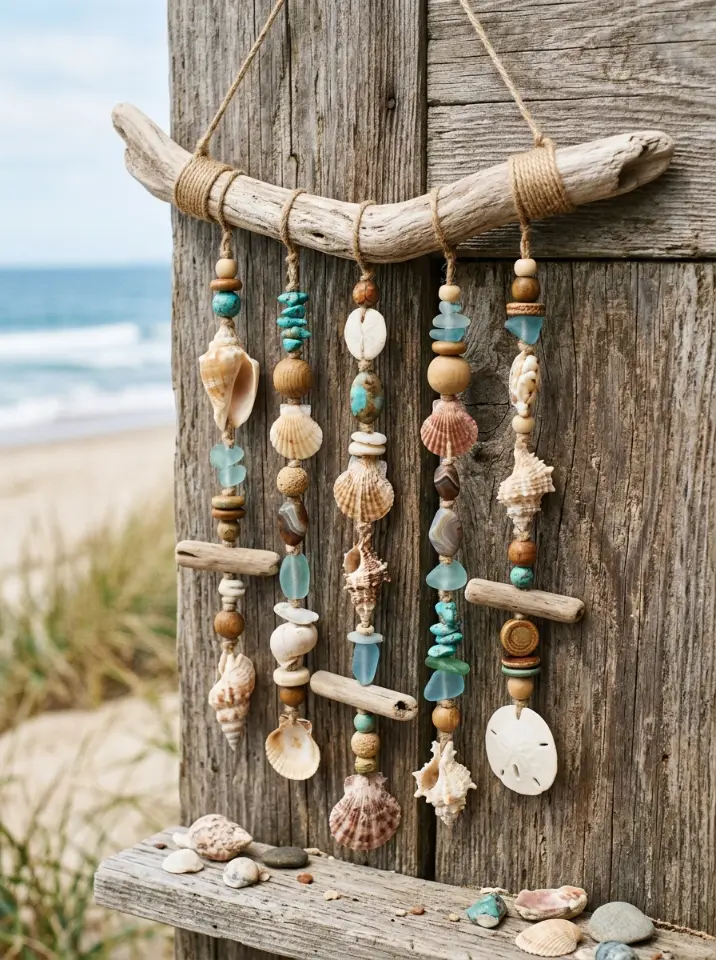
Combine shells with beads, rope, or driftwood for mixed-media designs. This adds dimension and uniqueness to your crafts.
Experiment with layouts before gluing. Blending materials creates more dynamic and visually interesting decor.
Practice and Experiment
Like any craft, practice improves your technique. Try different napkins, colors, and finishes to discover your style.
Don’t be afraid to make mistakes—they often lead to the most creative results. Each shell becomes a learning experience.
Conclusion
Napkin decoupage seashell art is a simple yet deeply rewarding way to express creativity while capturing the tranquil beauty of the coast.
From delicate patterns to textured finishes, each piece tells its own story and reflects your personal style. These decoupage crafts are perfect for relaxing afternoons and meaningful handmade decor.
Try these ideas, experiment with your own designs, and transform everyday shells into stunning works of art. Save your favorites to Pinterest and share your unique creations with others for endless inspiration.